
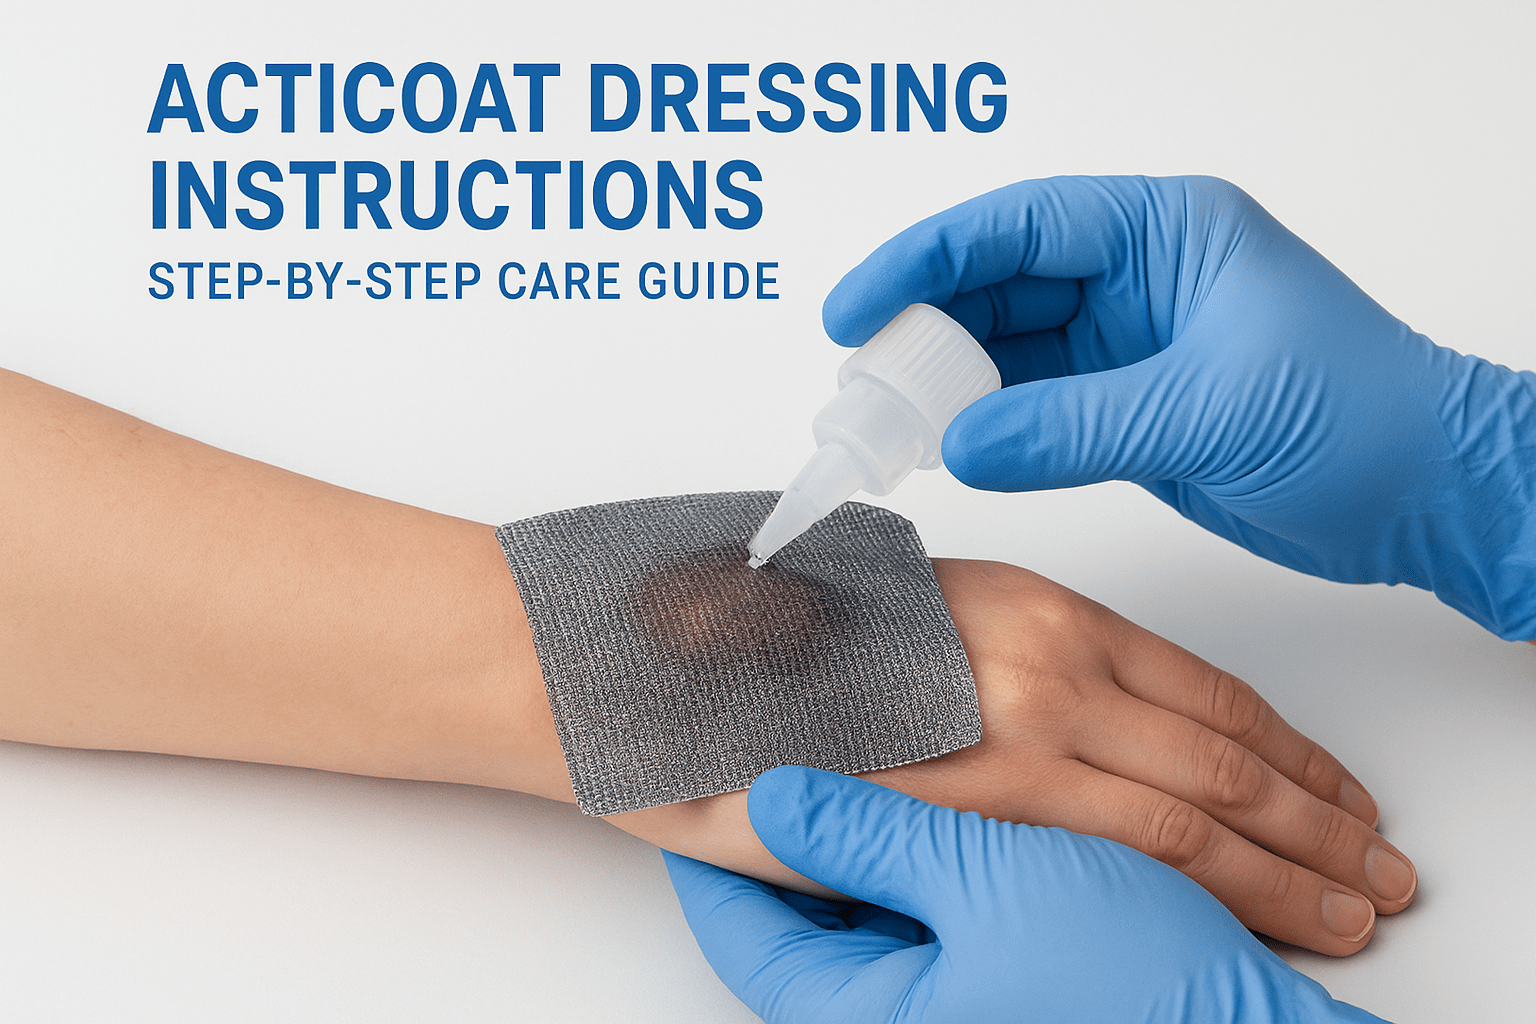
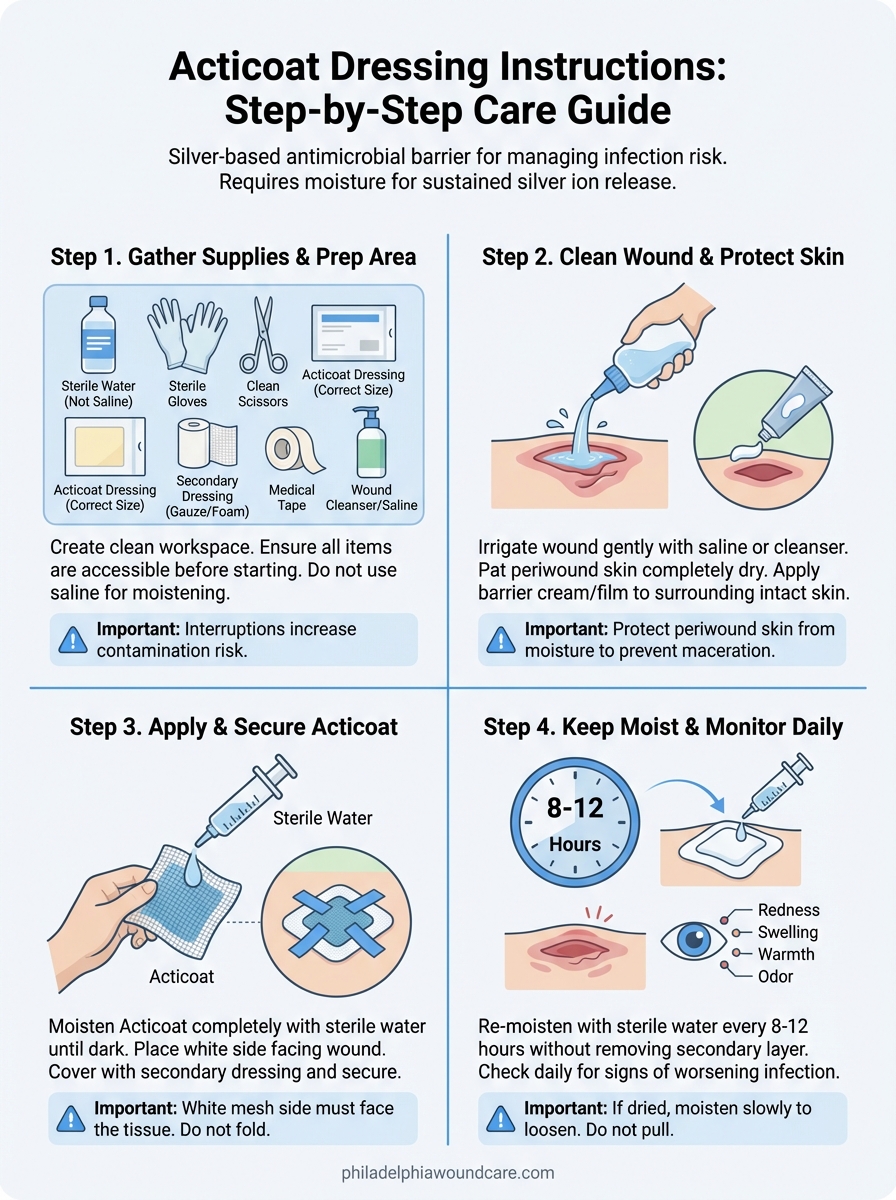
Acticoat Dressing Instructions: Step-By-Step Care Guide
Acticoat is a silver-based antimicrobial dressing used to manage infection risk in burns, chronic ulcers, and other complex wounds. When applied correctly, it creates a sustained antimicrobial barrier that supports the healing process. But if the preparation or application steps are off, even slightly, the dressing won’t perform as intended. That’s why understanding Acticoat dressing instructions thoroughly matters, whether you’re a caregiver managing wound care at home or a facility nurse handling dressing changes for multiple patients with different wound types.
At Philadelphia Wound Care, our physician-led mobile practice treats chronic and complex wounds directly at the patient’s bedside, in private homes, skilled nursing facilities, and assisted living communities across the Philadelphia area. Our General Surgeon routinely prescribes and oversees the use of advanced antimicrobial dressings like Acticoat as part of individualized treatment plans. We’ve seen firsthand how proper technique makes a real difference in outcomes, and how small missteps during application can stall progress or lead to complications.
This guide walks you through each step of applying an Acticoat dressing, from preparation and moistening to securing it in place and knowing when to change it. We’ve written it to be practical and straightforward, something you can reference each time you perform a dressing change. If your wound requires specialist oversight or you’re unsure whether Acticoat is the right choice, our team is available for in-home evaluations within 24 hours of referral.
What Acticoat is and when clinicians use it
Acticoat is a nanocrystalline silver wound dressing manufactured by Smith+Nephew. It consists of two outer layers of silver-coated, high-density polyethylene mesh surrounding an absorbent rayon and polyester inner core. When you moisten it with sterile water, the nanocrystalline silver releases a sustained concentration of silver ions that work against a broad spectrum of bacteria, including resistant strains like MRSA and Pseudomonas aeruginosa.
A single Acticoat dressing maintains an effective antimicrobial barrier for up to three days per application, which is why the moistening steps in these Acticoat dressing instructions directly affect how well the product performs.
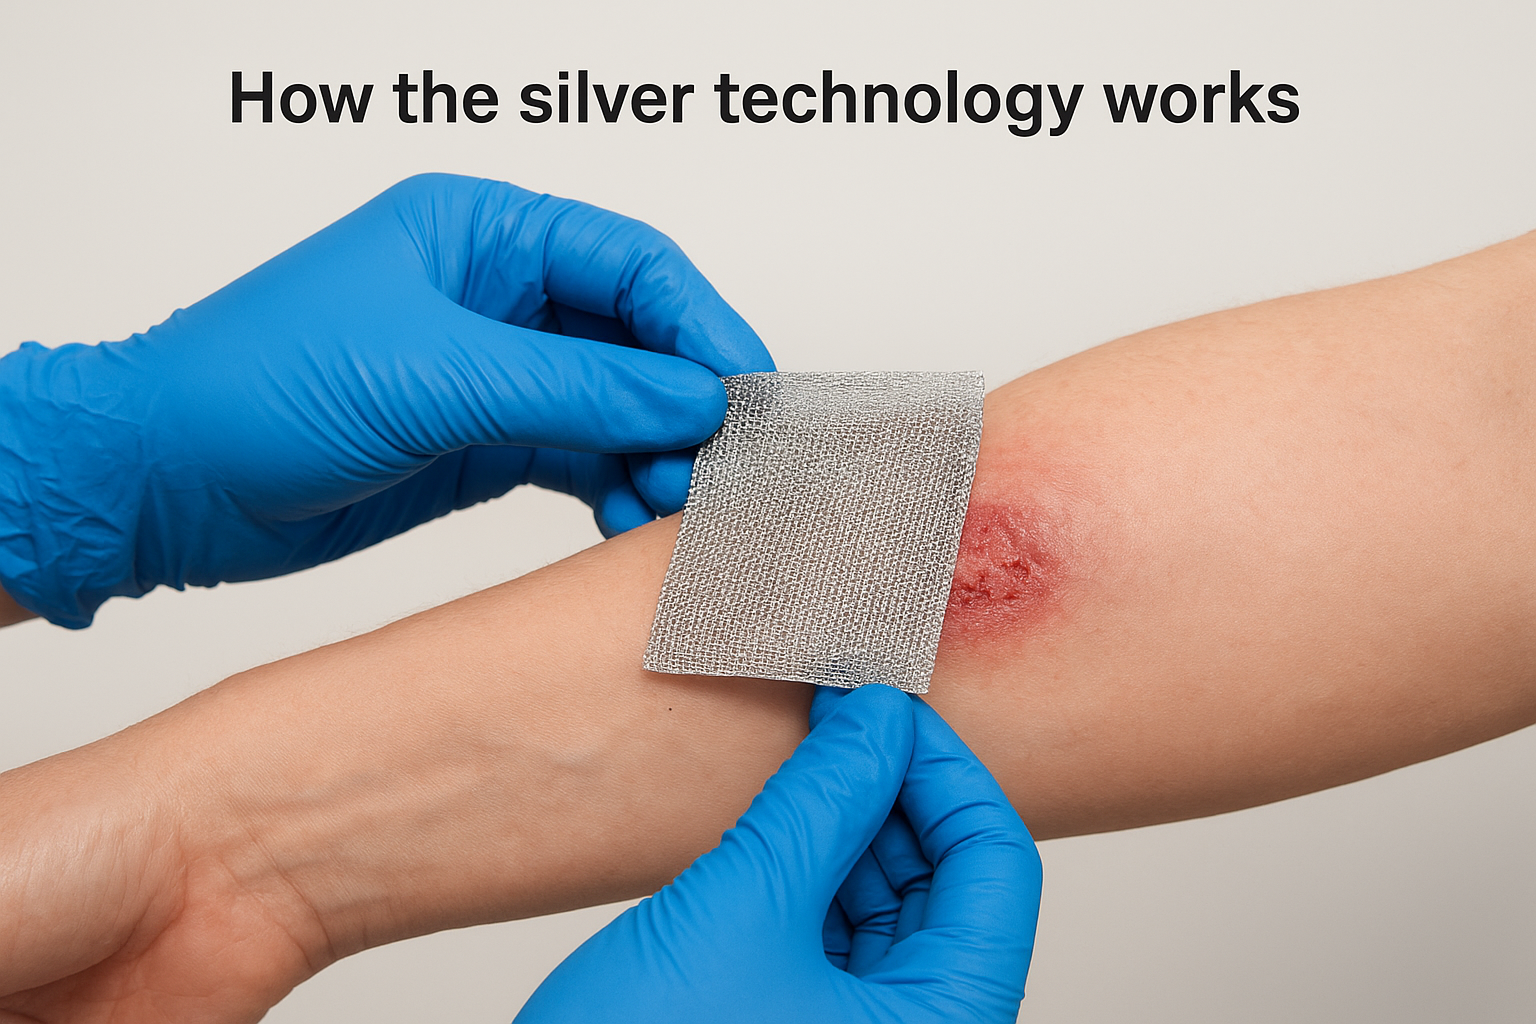
How the silver technology works
The silver in Acticoat does not work the same way a standard antiseptic does. Rather than delivering one concentrated dose, the nanocrystalline formulation releases silver ions continuously throughout the dressing’s active period. Those ions disrupt the bacterial cell membrane, block cell replication, and prevent biofilm formation on the wound surface. This sustained mechanism makes Acticoat more reliable than older silver products, such as silver sulfadiazine cream, for wounds with high infection risk. You need to keep the dressing consistently moist to sustain that ion release, which is why the moistening protocol is the most critical step in the entire application process.
When clinicians prescribe it
Clinicians reach for Acticoat when a wound carries confirmed infection or a high colonization risk. It is most commonly indicated for these wound types:
- Partial and full-thickness burns where infection can develop rapidly
- Chronic diabetic foot ulcers showing signs of bacterial colonization
- Pressure ulcers (stages 3 and 4) with suspected or confirmed infection
- Post-surgical wounds that have dehisced or stalled in healing
- Venous leg ulcers with heavy exudate and bacterial involvement
Prescribing it also makes sense when a wound has not responded to standard antimicrobial treatments, or when lab cultures identify resistant organisms that require a broad-spectrum solution.
Step 1. Gather supplies and prep the area
Before you open the Acticoat package, make sure you have everything within reach. Interrupting a dressing change to retrieve a missing item increases contamination risk and breaks your sterile field. Following these Acticoat dressing instructions from the very start means having a clean, organized workspace before anything touches the wound.
What you need
Collect all your materials and place them on a clean surface before you begin the dressing change. Having items grouped and accessible removes the need to reach across the wound once you start.
- Sterile water (not saline, which deactivates the silver)
- Sterile gloves
- Clean scissors
- Acticoat dressing in the correct size for the wound
- Secondary dressing such as gauze, foam, or bandage roll
- Medical tape or cohesive bandage wrap
- Wound cleanser or sterile saline for irrigation
- Clean disposal bag for the soiled dressing
Never substitute tap water or normal saline for sterile water when moistening Acticoat, as saline inactivates the silver and significantly reduces the dressing’s antimicrobial output.
Preparing the workspace
Choose a well-lit, clean surface and lay down a sterile drape before placing your supplies. Wash your hands thoroughly for at least 20 seconds, then put on sterile gloves before removing the old dressing. Dispose of it immediately into the waste bag.
Step 2. Clean the wound and protect skin
Cleaning the wound before applying Acticoat removes loose debris, old exudate, and residual dressing material that would otherwise sit between the silver and the wound bed. A clean surface lets the nanocrystalline silver make direct contact with the tissue, which is essential for the dressing to deliver consistent antimicrobial output throughout its active period.
Irrigating the wound
Use a syringe or squeeze bottle to flush the wound with sterile saline or an approved wound cleanser. Apply gentle, steady pressure during irrigation, enough to dislodge loose debris without damaging fragile granulation tissue. Pat the surrounding skin completely dry with sterile gauze once you finish rinsing, because moisture trapped under tape causes maceration in the periwound area.
Never scrub the wound bed directly, as aggressive mechanical action tears new tissue and stalls the healing process.
Protecting periwound skin
These Acticoat dressing instructions apply to the skin surrounding the wound, not just the wound itself. Silver ions can migrate outward and irritate or macerate intact periwound skin if you leave it unprotected. Apply a barrier product to the periwound area before placing the dressing. Common options used in clinical practice include:
- Zinc oxide-based barrier cream for heavily exuding wounds
- Silicone-based barrier film for fragile or sensitive skin
- Petrolatum-lined gauze strips placed along the wound edge
Step 3. Apply and secure the Acticoat
With the wound cleaned and periwound skin protected, you can now moisten and place the Acticoat. Open the packaging using sterile technique and handle the dressing only by its edges to avoid contaminating the silver-coated mesh surface before it contacts the wound.
Moistening and sizing the dressing
Before placing Acticoat, moisten it with sterile water using a syringe or a clean cup. Saturate the dressing completely until it turns darker in color, which signals that the silver ion release has activated. If the wound is smaller than the dressing, cut Acticoat to size using clean scissors, but always ensure it covers the entire wound bed with a slight overlap onto the wound edge.
The dressing should feel consistently damp, not dripping, when you place it against the wound.
Securing the dressing in place
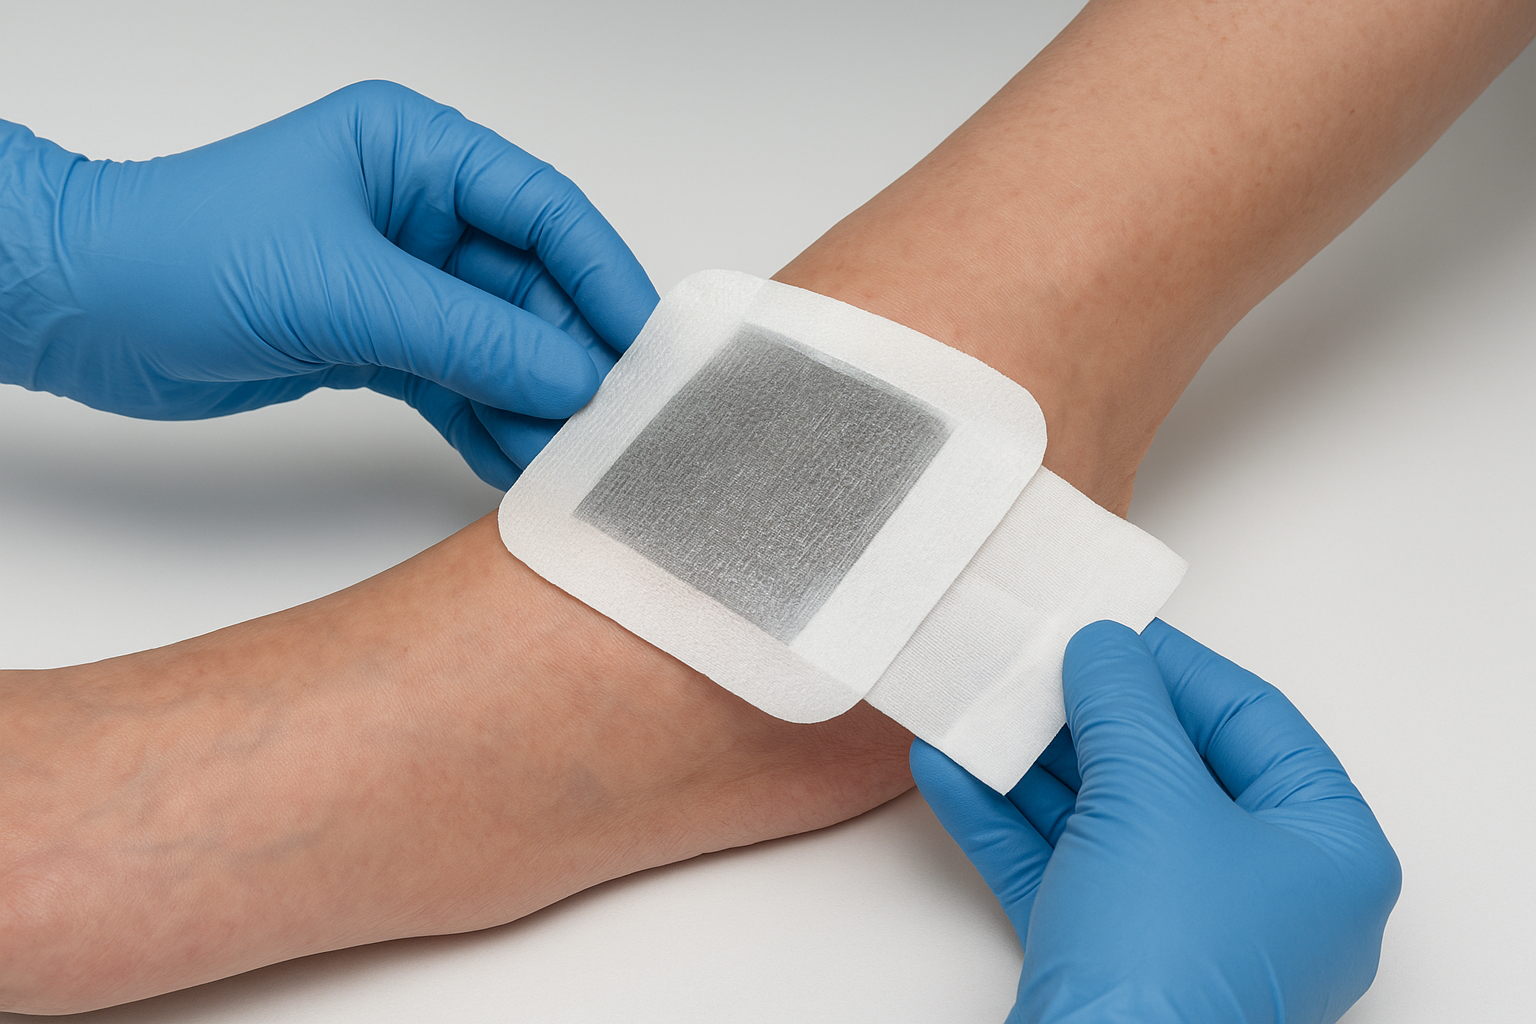
Place the moistened Acticoat directly onto the wound with the white mesh side facing the tissue. Following these Acticoat dressing instructions, never fold or bunch the material, as doing so creates gaps in antimicrobial coverage. Apply a secondary absorbent layer over the Acticoat, then secure everything with medical tape or a cohesive wrap. Make sure the edges are fully sealed but not tight enough to restrict circulation to the surrounding tissue.
Step 4. Keep it moist and monitor daily
Once the dressing is secured, your primary job is maintaining consistent moisture and watching for signs that the wound is changing. Acticoat requires sterile water to sustain silver ion release throughout its active period, so these Acticoat dressing instructions continue well beyond the initial application.
Moistening schedule
Re-moisten the dressing every 8 to 12 hours by carefully lifting the outer secondary layer and adding sterile water directly onto the Acticoat surface using a syringe. You don’t need to remove the dressing to do this.
If the dressing has dried out and adhered to the wound bed, apply sterile water slowly and allow it to loosen before removal. Never pull a dried dressing free.
Apply sterile water until the dressing returns to a consistently damp state and the mesh visibly deepens in color again.
What to watch for daily
Check the wound at each rehydration. Note any increases in redness, swelling, or warmth around the wound margins, and watch for changes in exudate volume or odor, which can indicate worsening infection. Replace the dressing every three days or sooner if it becomes saturated or dislodged.
- Increased periwound redness or heat
- New or worsening wound odor
- Exudate soaking through the secondary dressing
- Dressing that has dried out or shifted position
Next steps
Following these Acticoat dressing instructions correctly gives any wound its best chance at healing without complications. The steps outlined here, from gathering sterile supplies to maintaining consistent moisture and monitoring the wound daily, cover what the dressing needs to perform well. But technique alone doesn’t determine outcomes. The underlying wound condition, your patient’s overall health, and whether the right dressing was prescribed in the first place all matter just as much.
If a wound isn’t responding after a full dressing cycle, or signs of infection are worsening, don’t manage that situation without clinical support. Philadelphia Wound Care brings physician-led wound evaluation directly to your home, skilled nursing facility, or assisted living community across the Philadelphia area. A board-certified General Surgeon will assess the wound, update the treatment plan, and apply advanced therapies when standard approaches fall short. Request a mobile wound care visit to get specialist oversight within 24 hours.