

Unna Boot Application Instructions: Step-by-Step Procedure
An Unna boot is one of the most effective compression dressings used to manage venous leg ulcers and lower extremity wounds. Yet its success depends almost entirely on correct technique. Poor wrapping can restrict circulation, cause skin breakdown, or simply fail to provide the therapeutic compression the wound needs. Having clear Unna boot application instructions matters whether you’re a clinician performing the procedure or a facility care team coordinating post-acute treatment.
At Philadelphia Wound Care, our physician-led mobile practice treats venous ulcers, diabetic wounds, and other complex lower extremity conditions across homes, skilled nursing facilities, and assisted living communities throughout the Philadelphia area. Unna boot therapy is a tool we use regularly, and proper application is a skill we reinforce with every care team we work alongside.
This guide walks through the full Unna boot procedure step by step, from patient assessment and preparation through wrapping technique, contraindications, and discharge guidance, so you can apply this dressing safely and effectively.
What an Unna boot is and when to use it
An Unna boot is a zinc oxide-impregnated gauze bandage wrapped around the lower leg and foot to create a semi-rigid compression dressing. The zinc oxide paste serves two purposes: it softens and soothes the surrounding skin while the compression layer reduces venous hypertension, the underlying driver of most venous leg ulcers. When the bandage firms slightly after application, it forms a consistent pressure gradient that supports venous return with every muscle contraction the patient makes during normal walking.
Composition and how it works
The dressing typically consists of three layers applied in sequence: the Unna paste gauze closest to the skin, a padding layer such as cast padding or Webril, and an outer cohesive bandage like Coban to secure and finish the wrap. Some clinicians add a fourth compression layer for patients with more significant edema. The paste does not harden like a plaster cast; it stays pliable enough to allow ankle movement, which is important because that motion actively pumps blood out of the lower leg and keeps the therapy working between dressing changes.
The compression an Unna boot provides only works correctly when the paste gauze layer is wrinkle-free and the outer bandage applies graduated pressure starting at the ankle and moving upward.
When to use it and when to avoid it
Knowing the correct indications and contraindications is just as important as mastering the wrap technique. These unna boot application instructions apply in the following clinical situations:
Indicated for:
- Venous leg ulcers with confirmed venous insufficiency
- Mild to moderate lower extremity edema in ambulatory patients
- Post-sclerotherapy compression following vein procedures
Avoid when:
- Arterial insufficiency is present (ankle-brachial index below 0.8)
- Active cellulitis or infection requires open wound monitoring
- Severe weeping edema requires more frequent dressing changes than weekly
- The patient has a known zinc oxide allergy
Step 1. Confirm safety and set up
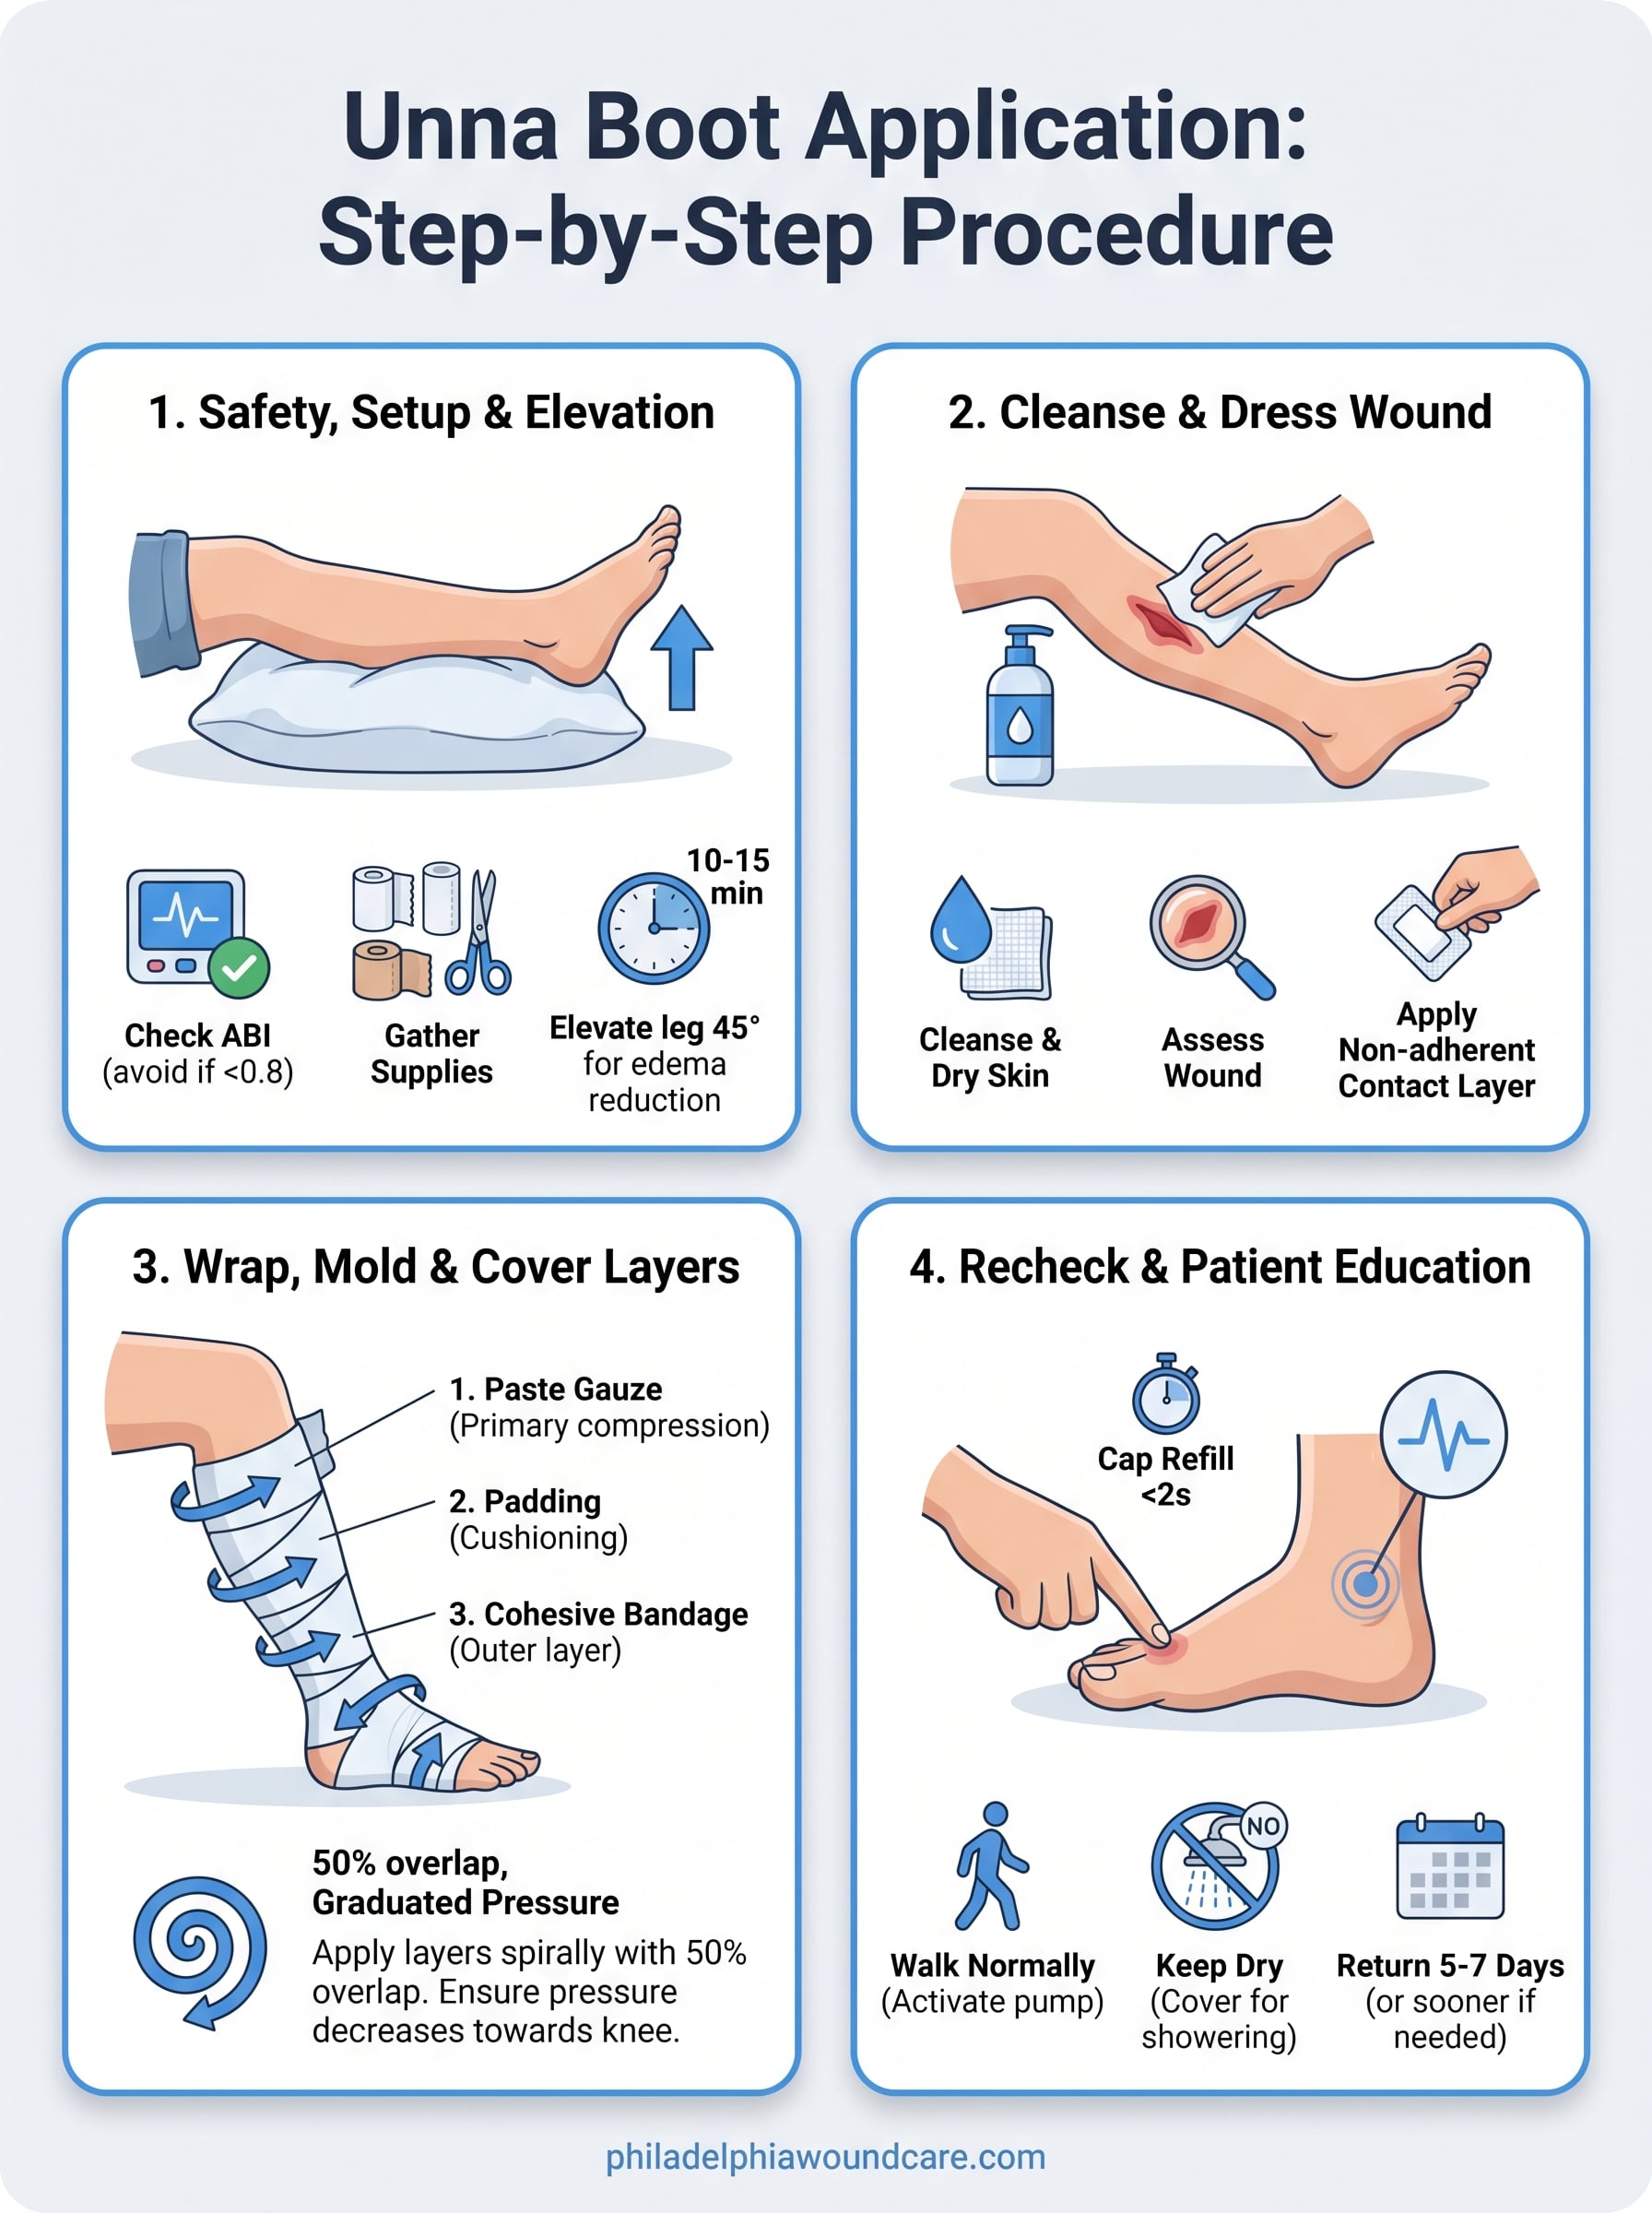
Before you touch any supplies, confirm that the patient is an appropriate candidate for compression therapy. Review the contraindications listed earlier in these unna boot application instructions, and verify the patient’s ankle-brachial index (ABI) if arterial disease is a concern. An ABI below 0.8 rules the patient out for this therapy. Document your assessment before you proceed.
Skipping the ABI check is the most preventable mistake in Unna boot application, and it can lead to serious limb complications in patients with undiagnosed arterial insufficiency.
Supplies to gather before you start
Collect everything you need before positioning the patient so the procedure runs without interruption. Stopping mid-application to retrieve a missing item introduces contamination risk and disrupts the compression gradient you are building.
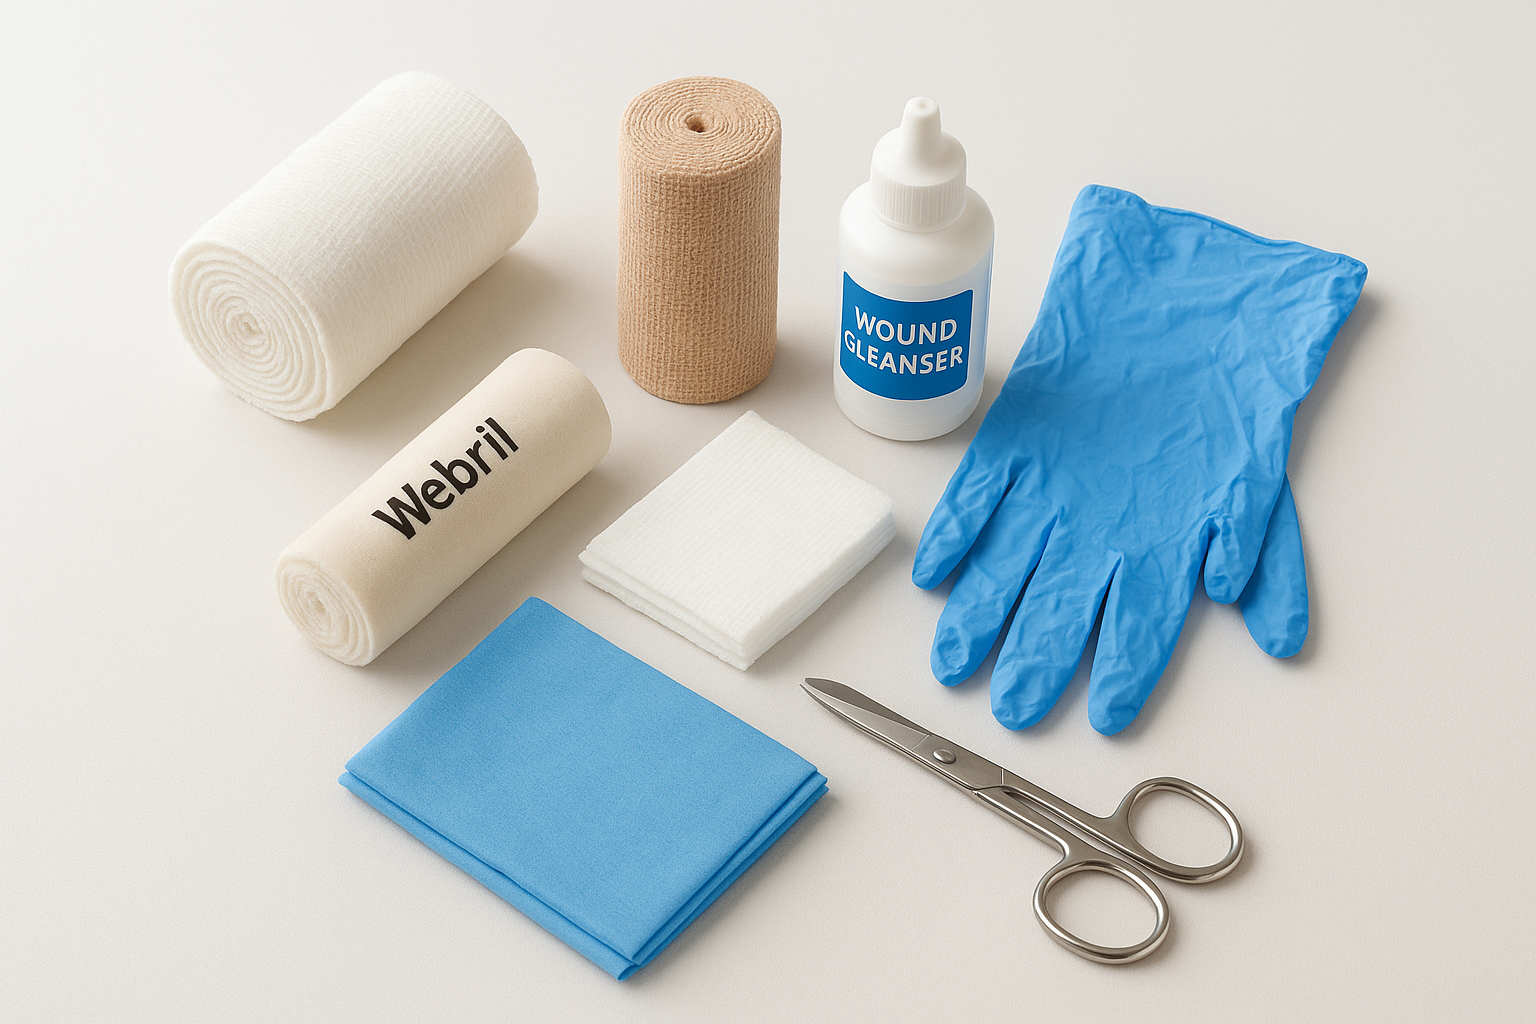
| Supply | Purpose |
|---|---|
| Unna paste gauze roll | Primary zinc oxide and compression layer |
| Cast padding (Webril) | Protective inner padding |
| Cohesive bandage (Coban) | Outer securing layer |
| Wound cleanser and gauze | Wound bed preparation |
| Gloves and clean drape | Infection control |
| Tape scissors | Trimming and securing the final edge |
Position the patient supine or seated with the affected leg elevated at roughly 45 degrees for 10 to 15 minutes before wrapping. That brief elevation reduces existing edema and gives you a more accurate baseline limb diameter for the compression wrap.
Step 2. Cleanse the leg and dress the wound
With the leg elevated and edema reduced, wound cleansing is your next priority before any bandage layer touches the skin. Use a wound cleanser or sterile saline to irrigate the ulcer bed thoroughly, removing residual exudate, fibrin, or loose debris. Pat the surrounding skin completely dry with gauze, since moisture trapped under compression creates a serious skin breakdown risk.
Assess the wound before covering it
Take a moment to document the wound’s size, depth, and appearance before you cover it. Note any signs of infection such as periwound erythema, malodor, or purulent drainage. These findings may change your clinical decision and are a reminder that these unna boot application instructions assume a clean, non-infected wound bed.
If the wound shows signs of active infection, stop and contact the managing physician before applying any compression dressing.
Select and apply the primary wound contact layer
Choose a non-adherent primary dressing that matches the wound’s exudate level. A low-exudate venous ulcer does well with a simple petrolatum-impregnated gauze contact layer. A moderately draining wound may need a foam or alginate contact layer to manage fluid between weekly dressing changes. Secure the primary dressing with minimal tape so the Unna paste gauze can sit flush against the skin without bunching or creating pressure ridges.
Step 3. Wrap, mold, and cover the Unna boot
Starting at the base of the toes, unroll the Unna paste gauze in a spiral pattern moving toward the knee. Keep each pass at roughly a 50 percent overlap with the previous one and maintain consistent, light tension throughout. The paste gauze should lie completely flat against the skin with no folds, since wrinkles translate directly into pressure points.
Work quickly but deliberately because the paste gauze begins to firm as it warms to skin temperature, which reduces how much you can reposition it.
Layer the dressing in sequence
Apply each layer using the same spiral technique and overlap pattern, working from toe to just below the knee. Follow this order:
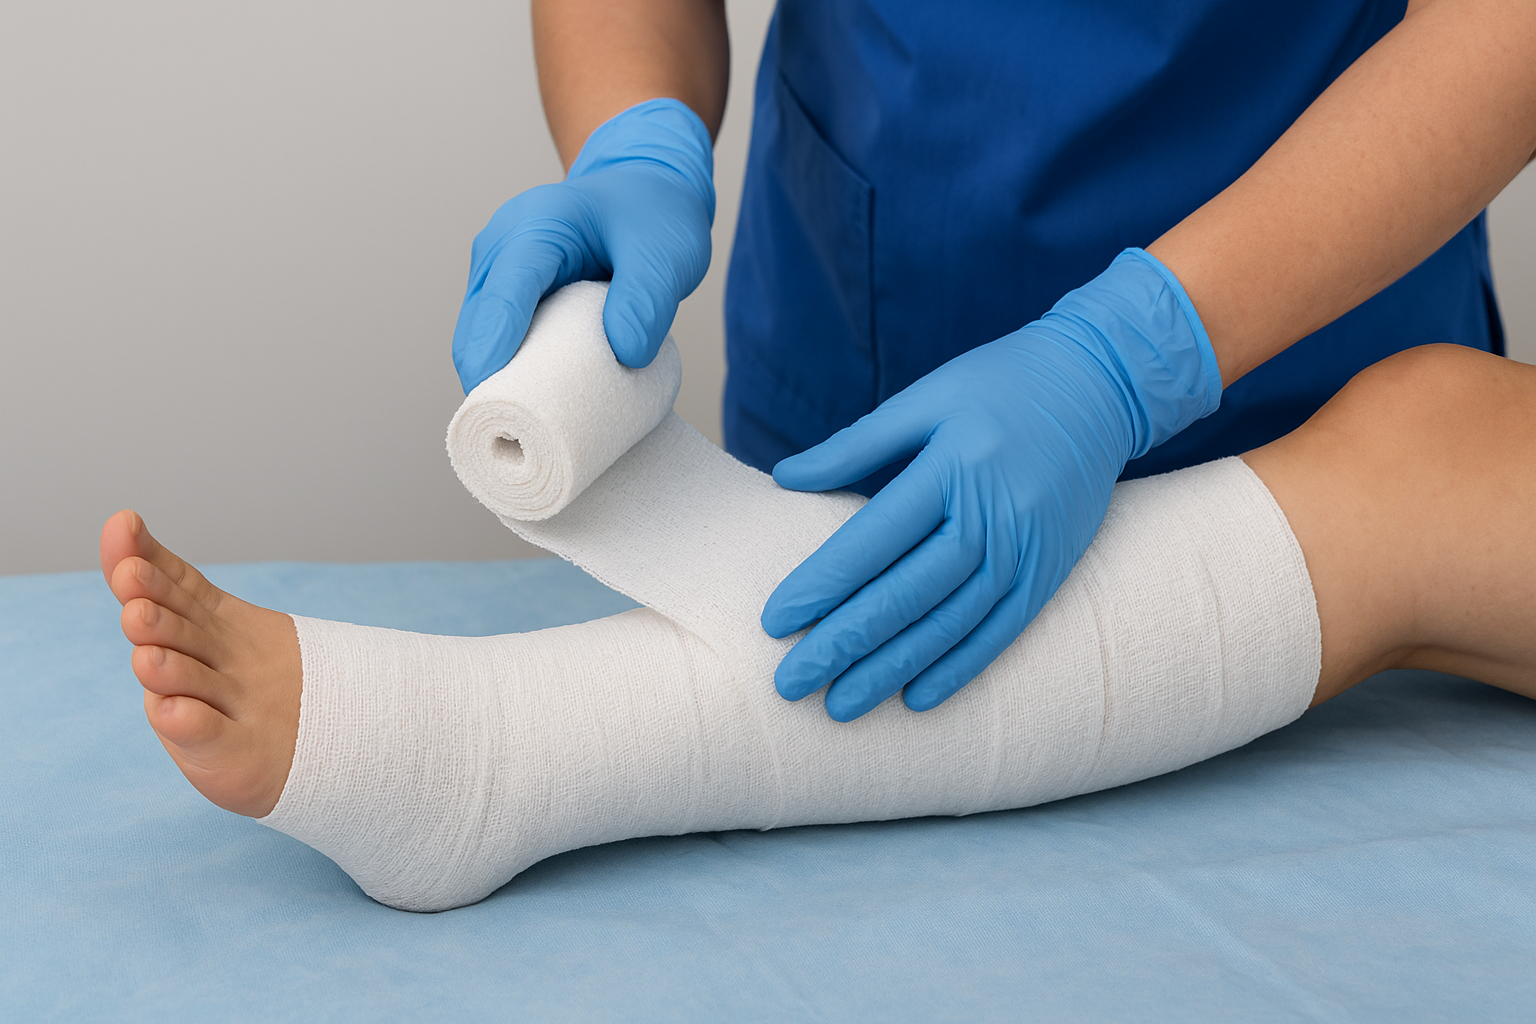
- Unna paste gauze – primary compression and zinc oxide layer
- Cast padding (Webril) – cushioning and exudate absorption
- Cohesive bandage (Coban) – outer securing and finishing layer
Finish and confirm wrap tension
These unna boot application instructions require that graduated compression remains firmest at the ankle and decreases as you move toward the knee. Slide one finger beneath the outer layer to verify the fit: the bandage should feel snug but not restrictive.
Trim any excess bandage material with tape scissors and secure the final edge with a small strip of tape. Avoid folding the edge back on itself, as that creates a localized pressure ridge directly against the skin.
Step 4. Recheck circulation and give home instructions
Once the wrap is complete, circulation check is mandatory before the patient moves or leaves your care. Press on the nail beds of the great toe and release; color should return within two seconds. Check the dorsal foot pulse if accessible, and ask the patient whether the leg feels numb, tingling, or unusually tight. If any of those symptoms are present, remove the outer cohesive layer and recheck tension before rewrapping.
A failed circulation check after application is not a minor inconvenience; it is a clinical signal that requires immediate correction.
What to tell patients before they leave
Your patient education at discharge directly affects how well the Unna boot therapy works between visits. Cover these points before the patient leaves your care:
- Do not get the boot wet – cover it with a plastic bag or waterproof sleeve during showering
- Report swelling above the knee, increased pain, or toe discoloration immediately
- Walk normally to activate the calf muscle pump; avoid prolonged sitting or standing in one position
- Return for a dressing change in five to seven days, or sooner if drainage soaks through the outer layer
These final checks complete the full set of unna boot application instructions and confirm the dressing is both therapeutic and safe for the patient to manage at home.
Key takeaways
Following these Unna boot application instructions correctly makes the difference between a dressing that accelerates healing and one that causes harm. Every step in this guide builds on the previous one: confirming ABI, reducing edema before wrapping, applying layers in the correct sequence, and verifying circulation before the patient leaves your care. Skip any one of those steps and you risk either missing a contraindication or creating a compression problem that worsens the wound.
Consistent technique and clear patient education carry this therapy through the days between your dressing changes. Patients who understand why they should walk, keep the boot dry, and watch for warning signs give the treatment the best chance to work.
If you are managing a patient with a venous ulcer or another complex lower extremity wound and need physician-led mobile support, reach out to our team through our Philadelphia mobile wound care services page to discuss next steps.