
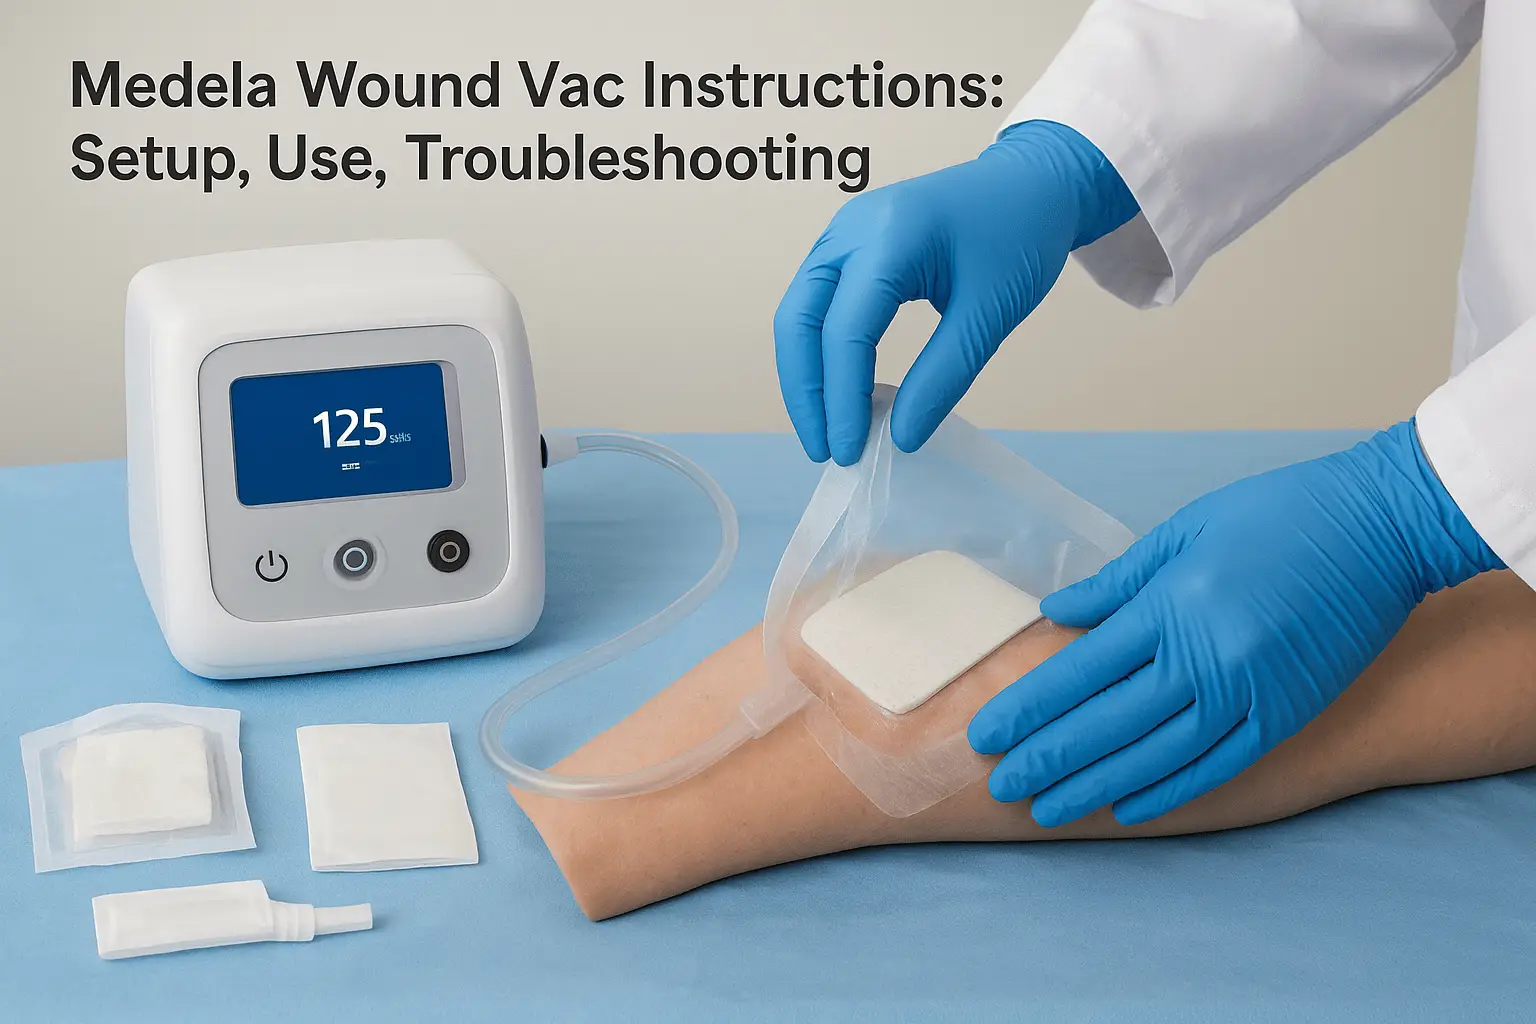
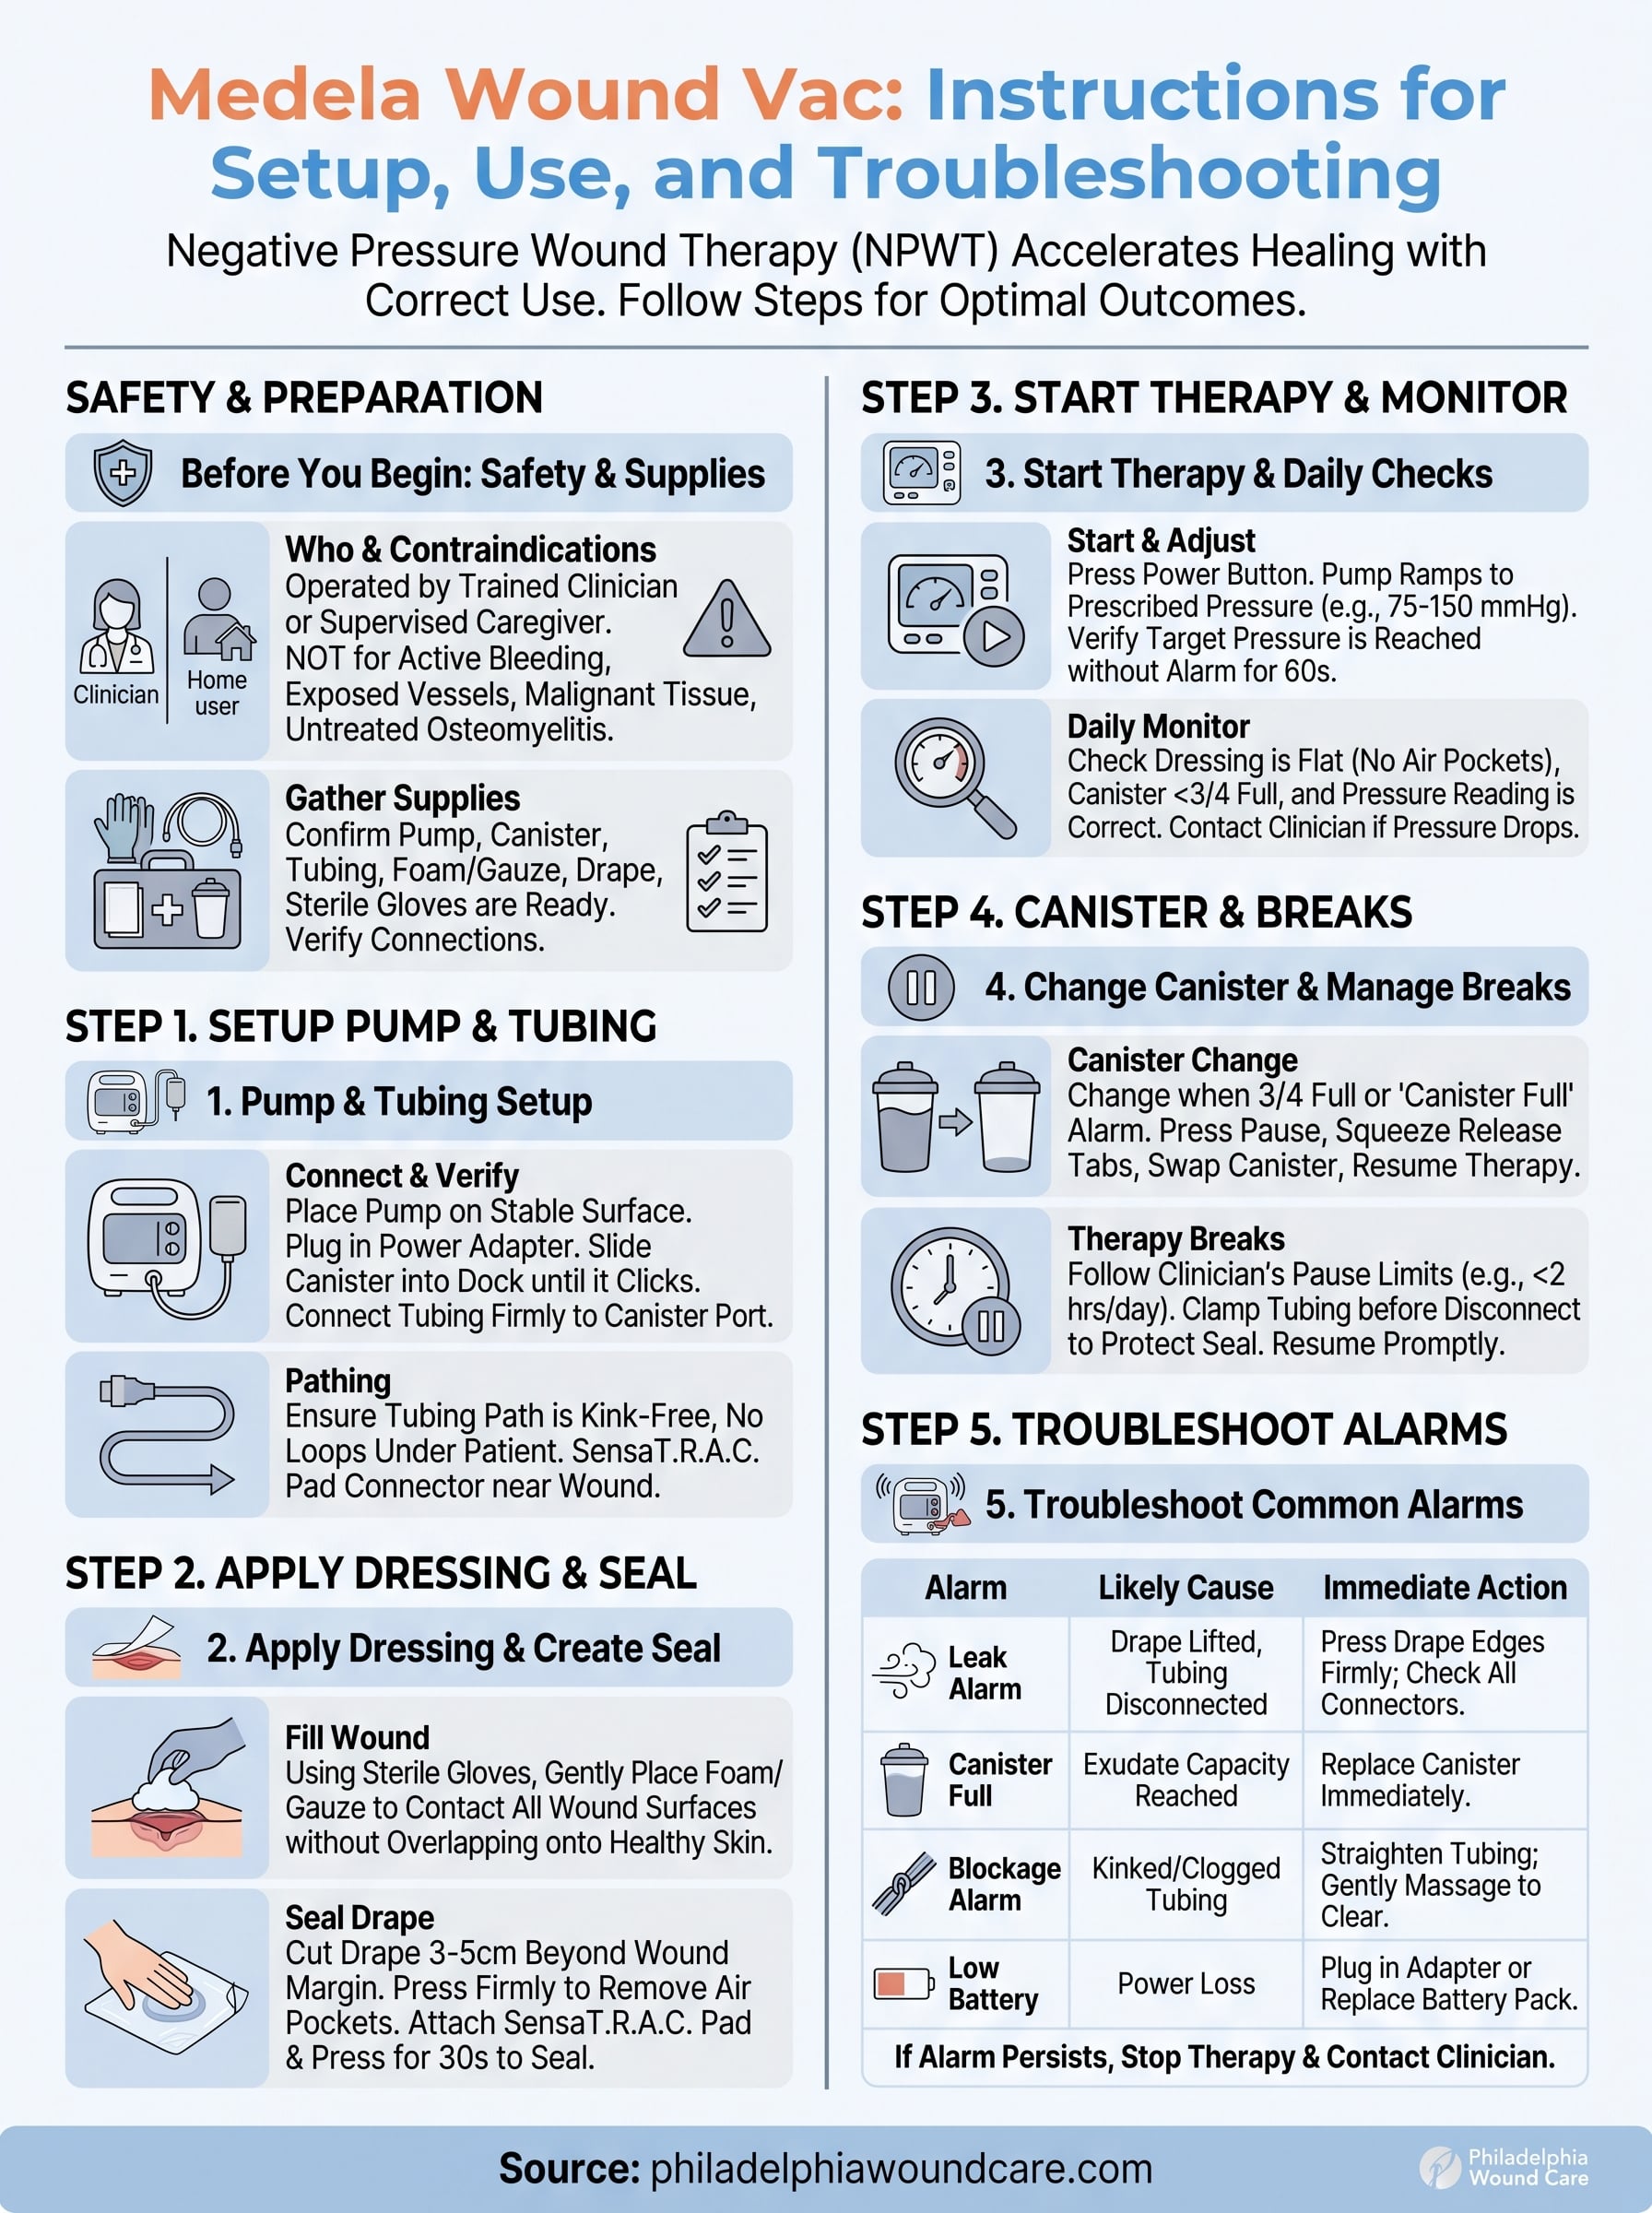
Medela Wound Vac Instructions: Setup, Use, Troubleshooting
Negative pressure wound therapy (NPWT) can accelerate healing for complex wounds, but only when the equipment is used correctly. If you’ve been searching for Medela wound vac instructions, you’re likely a clinician setting up the Invia system for the first time, a caregiver managing treatment at home, or a patient trying to understand what all those alarms mean. Getting the setup, operation, and troubleshooting steps right matters because even small errors can compromise the seal, interrupt therapy, and delay recovery.
At Philadelphia Wound Care, our physician-led mobile practice manages advanced wound therapy across homes, skilled nursing facilities, and hospice settings throughout the Philadelphia area. We work hands-on with NPWT devices regularly, and we know that clear, practical guidance makes a real difference in outcomes. That firsthand clinical experience is exactly what shaped this guide.
Below, you’ll find step-by-step instructions for setting up your Medela Invia wound vac, applying the dressing correctly, adjusting pressure settings, and resolving the most common issues that interrupt therapy. Whether you’re a healthcare professional or a home caregiver, this walkthrough will help you keep treatment on track.
Safety, who should use it, and what you need
Before following any Medela wound vac instructions, confirm that NPWT is appropriate for your situation. The Medela Invia system is designed for use under physician supervision, whether that’s in a skilled nursing facility, a home setting, or another care environment. If you are a caregiver or patient managing the device at home, a clinician should have already prescribed the therapy, set the target pressure, and walked you through the basics in person.
Who should operate this device
The Invia pump can be operated by a trained clinician, a home health nurse, or a supervised caregiver. Patients who self-manage do so only after formal instruction from a licensed provider. This device is not appropriate for wounds with active bleeding, exposed blood vessels, malignant tissue, or untreated osteomyelitis. If you are unsure whether the wound qualifies, contact the prescribing physician before proceeding.
Never start or restart NPWT therapy on a wound that has changed significantly in size, depth, or appearance without first consulting your clinician.
Supplies you need before you begin
Gather everything before you touch the wound. Running through setup mid-procedure increases contamination risk and disrupts the sterile field.
| Supply | Purpose |
|---|---|
| Medela Invia pump and power adapter | Delivers and regulates negative pressure |
| Pre-cut foam or gauze wound filler | Fills the wound bed |
| Transparent adhesive drape | Creates the airtight seal |
| Tubing and SensaT.R.A.C. pad | Connects wound to canister |
| Sterile gloves and barrier dressing | Protects wound and clinician |
| Canister with correct volume | Collects wound exudate |
Confirm that the canister is securely snapped into the pump dock and that the tubing is free of kinks before you move to setup.
Step 1. Set up the Medela Invia pump and tubing
Start with the pump on a stable, flat surface within reach of a power outlet. Plug in the power adapter before connecting any tubing, and allow the device to complete its self-check cycle. The Invia will display a green indicator light when it is ready to operate.
Connect the canister and tubing
Slide the filled canister firmly into the pump dock until you hear it click into place. Then attach the tubing line to the canister port, pressing until it locks. A loose connection at this stage is the most common source of seal failures you will encounter later in therapy.
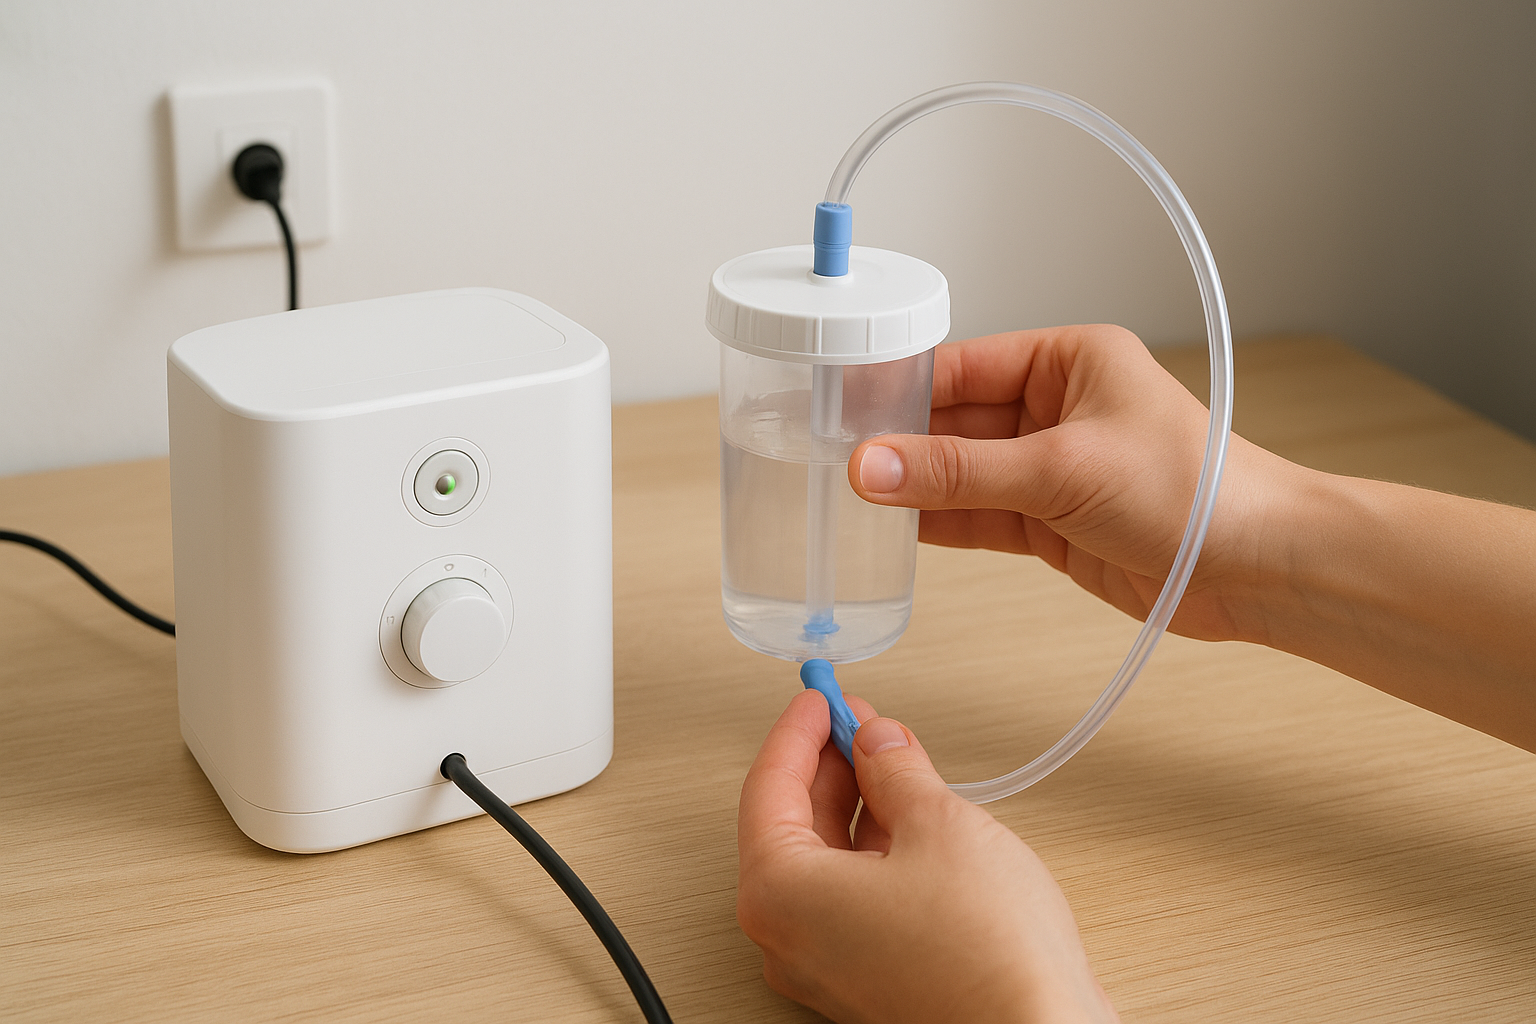
Always verify each connection point before moving to dressing application. An unchecked loose fitting will compromise therapy from the start.
Verify tubing placement
Run the tubing along a path that avoids compression under the patient’s weight. Before applying the dressing, confirm all three points below:
- Tubing is kink-free from canister to wound site
- SensaT.R.A.C. pad connector sits near the planned dressing location
- No tubing loops rest beneath the patient’s body
Step 2. Apply and seal the dressing
Dressing application is the step where most seal failures begin. Follow these Medela wound vac instructions precisely, because an incomplete seal prevents the pump from maintaining target pressure and can stall your patient’s recovery.
Fill the wound bed
Using sterile gloves, place the foam or gauze wound filler into the wound cavity. The filler should contact all wound surfaces without overlapping onto the healthy surrounding skin. Trim foam to shape with sterile scissors if needed, and layer multiple pieces for deeper wounds rather than forcing a single oversized piece into place.
Never pack filler tightly against wound edges, as this can damage fragile tissue and break the seal.
Seal the drape
Cut the transparent adhesive drape to extend at least 3 to 5 centimeters beyond the wound margin on all sides. Press down firmly from the center outward to remove air pockets beneath the drape. Then press the SensaT.R.A.C. pad over the drape access port, and hold firm pressure for 30 seconds until it lies completely flat against the surface.
Step 3. Start therapy and manage daily use
Once the dressing is sealed, press the power button to start the pump. The Medela Invia will ramp up to your prescribed pressure setting automatically. Watch the display for 60 seconds to confirm the system reaches and holds target pressure without triggering an alarm.
Set the correct pressure and mode
Your clinician will have specified a target pressure range, typically between 75 and 150 mmHg, and a therapy mode, either continuous or intermittent. Adjust settings only if your prescribing physician has instructed you to do so. Document the current setting before making any changes so you have a clear record.
Monitor the wound daily
Check the dressing and tubing at each scheduled visit or at least once per day if you are managing care at home. Follow these medela wound vac instructions for daily monitoring:
- Confirm the drape remains flat with no visible air pockets
- Check that the canister is collecting exudate and is less than three-quarters full
- Verify the display shows the correct pressure reading
If pressure drops below the target range without a visible leak, contact your clinician before continuing therapy.
Step 4. Change the canister and handle breaks safely
Canister changes and therapy breaks both create windows where infection risk rises and seal integrity can fail. Following the correct Medela wound vac instructions for these moments keeps your patient’s recovery on track and prevents unnecessary interruptions to negative pressure delivery.
Replace the canister without losing seal integrity
Change the canister when it reaches three-quarters full or when the pump triggers a canister-full alarm. To swap it out, press the pause button first, then squeeze the canister release tabs and pull straight down. Slide the new canister in until it clicks, then resume therapy and confirm the display returns to your target pressure within 30 seconds.
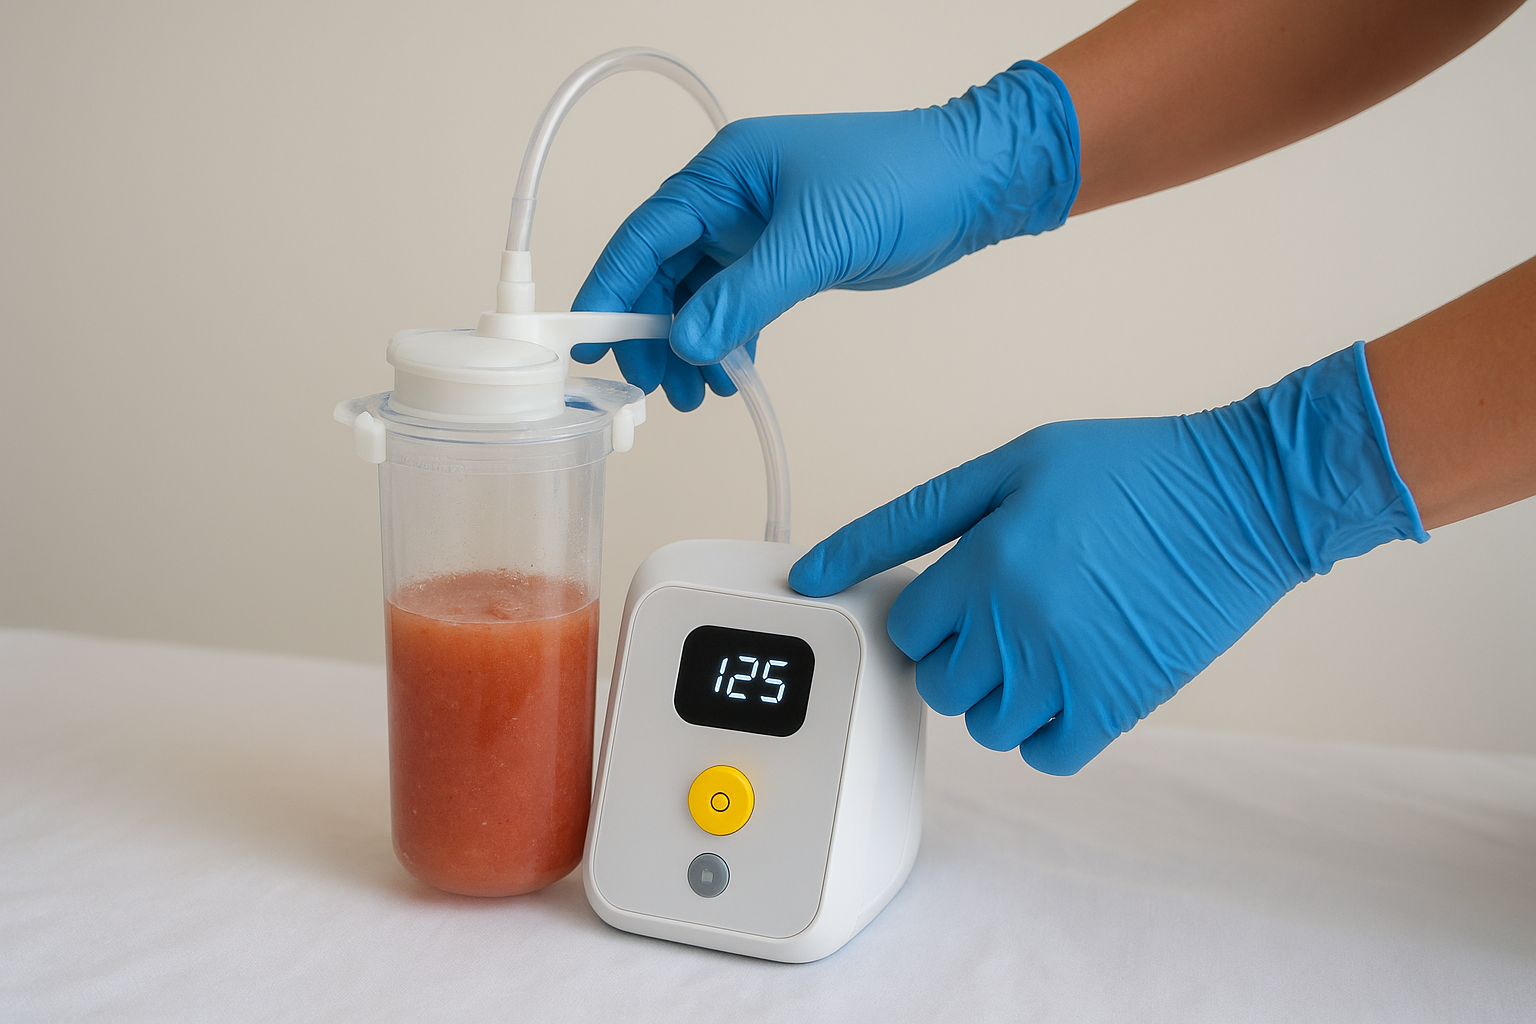
Always wear gloves when handling a used canister, since wound exudate is a biohazard material that requires careful disposal.
Manage therapy breaks correctly
Your clinician will specify how long therapy pauses are acceptable, typically no more than two hours per day. During a break, clamp the tubing before disconnecting to protect the dressing seal, note the exact time therapy stopped, and resume as soon as the break ends.
Step 5. Troubleshoot alarms, leaks, and clogs
The Medela Invia uses audible and visual alarms to flag problems in real time. When an alarm triggers, read the display before touching anything else. Most issues covered in Medela wound vac instructions fall into three categories: pressure failures, canister alerts, or blocked tubing.
Interpret and respond to common alarms
Each alarm code points to a specific fix. Use the table below to match what you see on the display to the correct response.
| Alarm | Likely cause | Immediate action |
|---|---|---|
| Leak alarm | Drape lifted or tubing disconnected | Press drape edges down firmly; check all connectors |
| Canister full | Exudate capacity reached | Replace canister immediately |
| Blockage alarm | Kinked or clogged tubing | Straighten tubing; massage gently to clear |
| Low battery | Power loss | Plug in adapter or replace battery pack |
If an alarm persists after you follow the indicated fix, stop therapy and contact your clinician before restarting.
Fix leaks and clear clogs
Leaks most often appear at drape edges or connector joints. Press firmly around the entire drape perimeter, then check each tubing connection. For clogs, gently massage the tubing between two fingers to break up any dried exudate blocking flow.
Your clinician can guide you through a visual inspection if these steps do not resolve the issue within a few minutes.
Next steps for peace of mind
Following these Medela wound vac instructions correctly gives you a strong foundation, but equipment knowledge only covers part of the picture. Managing a complex wound at home or in a care facility also means having the right clinical support behind you when something unexpected happens, whether that is a persistent alarm, a wound that stops responding to therapy, or a dressing that will not hold a seal no matter what you try.
You do not have to navigate those situations alone. Philadelphia Wound Care provides physician-led mobile wound care directly to patients in their homes, skilled nursing facilities, and other care settings throughout the Philadelphia region. Our team handles advanced wound therapy hands-on, coordinating with your existing providers to keep treatment consistent and moving forward. If you need expert support, start by visiting our mobile wound care services in Philadelphia to learn how we can help you or your patient heal faster and with less stress.