
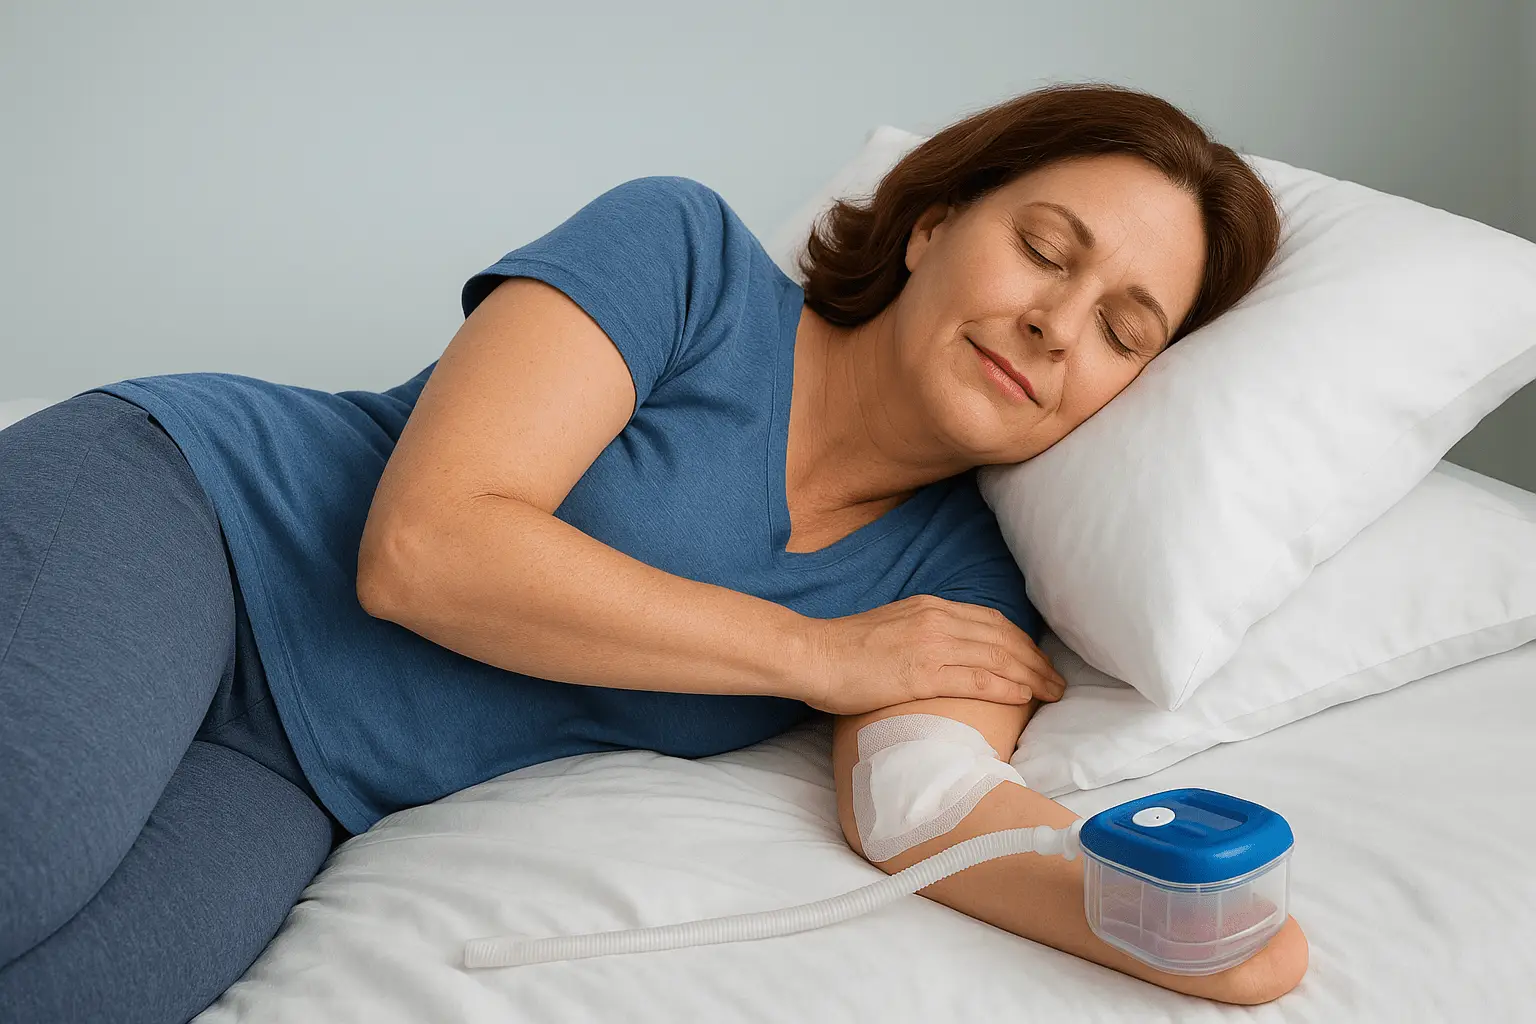
How To Sleep With A Wound Vac: Positioning & Tubing Safely
If you’ve recently been discharged with a negative pressure wound therapy (NPWT) device, figuring out how to sleep with a wound vac is probably one of your first real frustrations. The machine hums, the tubing pulls, and every position you try feels like a compromise between comfort and keeping the seal intact. A poor night’s sleep isn’t just annoying, it can slow your recovery and make daily life harder than it already is.
At Philadelphia Wound Care, we manage complex wounds at patients’ bedsides across the Philadelphia area, in homes, skilled nursing facilities, and assisted living communities. Our physician-led team sees firsthand how NPWT devices affect daily routines, especially sleep. Tubing kinks, seal breaks, and pressure on the wound site are among the most common concerns our patients raise during house call visits. These problems are solvable once you know the right setup and positioning strategies.
This guide walks you through practical steps to sleep safely and more comfortably with a wound vac. You’ll learn how to position your body based on wound location, where to place the device relative to your bed, how to secure tubing so it doesn’t tangle overnight, and how to protect your skin from pressure-related complications. Each tip comes from the kind of real-world clinical insight that guides our daily patient care.
What to know before you sleep with a wound vac
Before you try any specific positioning trick, you need a clear picture of what a wound vac is actually doing while you sleep. Negative pressure wound therapy (NPWT) works by applying continuous suction to the wound site through a foam or gauze dressing sealed with a transparent film. That suction draws out excess fluid, reduces swelling, and creates the mechanical environment the wound needs to close. The therapy does not pause because you’re asleep, which is exactly why your positioning and device setup matter so much at night.
Why you can’t just turn it off at night
Many patients ask whether they can switch the device off for a few hours to get comfortable. The short answer is no, unless your clinician has given you explicit permission for therapy breaks. Most NPWT protocols require the device to run for at least 22 hours per day, and interruptions beyond the allowed window can slow tissue granulation and compromise the healing environment inside the dressing. Some devices track therapy time internally, so your clinical team can review compliance at the next visit.
Skipping therapy also raises the risk of the dressing drying out and adhering more aggressively to the wound bed, which makes the next dressing change more painful and can damage fragile new tissue. If your device feels too uncomfortable to tolerate through the night, that is a conversation to have with your clinician, not a reason to disconnect on your own.
What to check before you get into bed
Running a quick pre-sleep check takes about three minutes and can save you from a 2 a.m. alarm. Start by inspecting the transparent film seal around the dressing and pressing down any edges that have started to lift. Even a small air leak will trigger the low-pressure alarm, and that alarm is loud enough to wake up everyone in the house.
A firm seal check right before bed is the single most effective step toward uninterrupted sleep with a wound vac.
Check the canister fill level before settling in. Most canisters alarm when full, but starting the night with a canister already at 75% capacity or more is a setup for a midnight interruption. If it’s close to full, change it before bed. Also confirm the tubing is free of kinks between the dressing and the device.
Understanding your wound location and what it changes
Wound location is the biggest variable that determines which sleep positions and tubing routes will actually work for you. A wound on your heel requires a completely different approach than one on your abdomen, lower back, or hip. Your typical sleep position, your mattress type, and the length of tubing your device came with all interact with wound location to define your realistic options.
Here is a quick reference for how location shapes your setup:
| Wound Location | Primary Challenge | Starting Point |
|---|---|---|
| Heel or foot | Pressure on the wound site | Elevate leg on a pillow, route tubing up the leg |
| Abdomen | Tubing pull when rolling | Use a clip to anchor tubing to clothing |
| Lower back | Pressure when lying supine | Side-lying with pillow support at the hips |
| Hip or thigh | Tubing kink when bending the joint | Keep tubing on the outer side of the leg |
Knowing your wound location and its specific challenges before you read the positioning steps below will help you apply each tip more accurately to your own situation rather than trying to adapt general advice on the fly at bedtime.
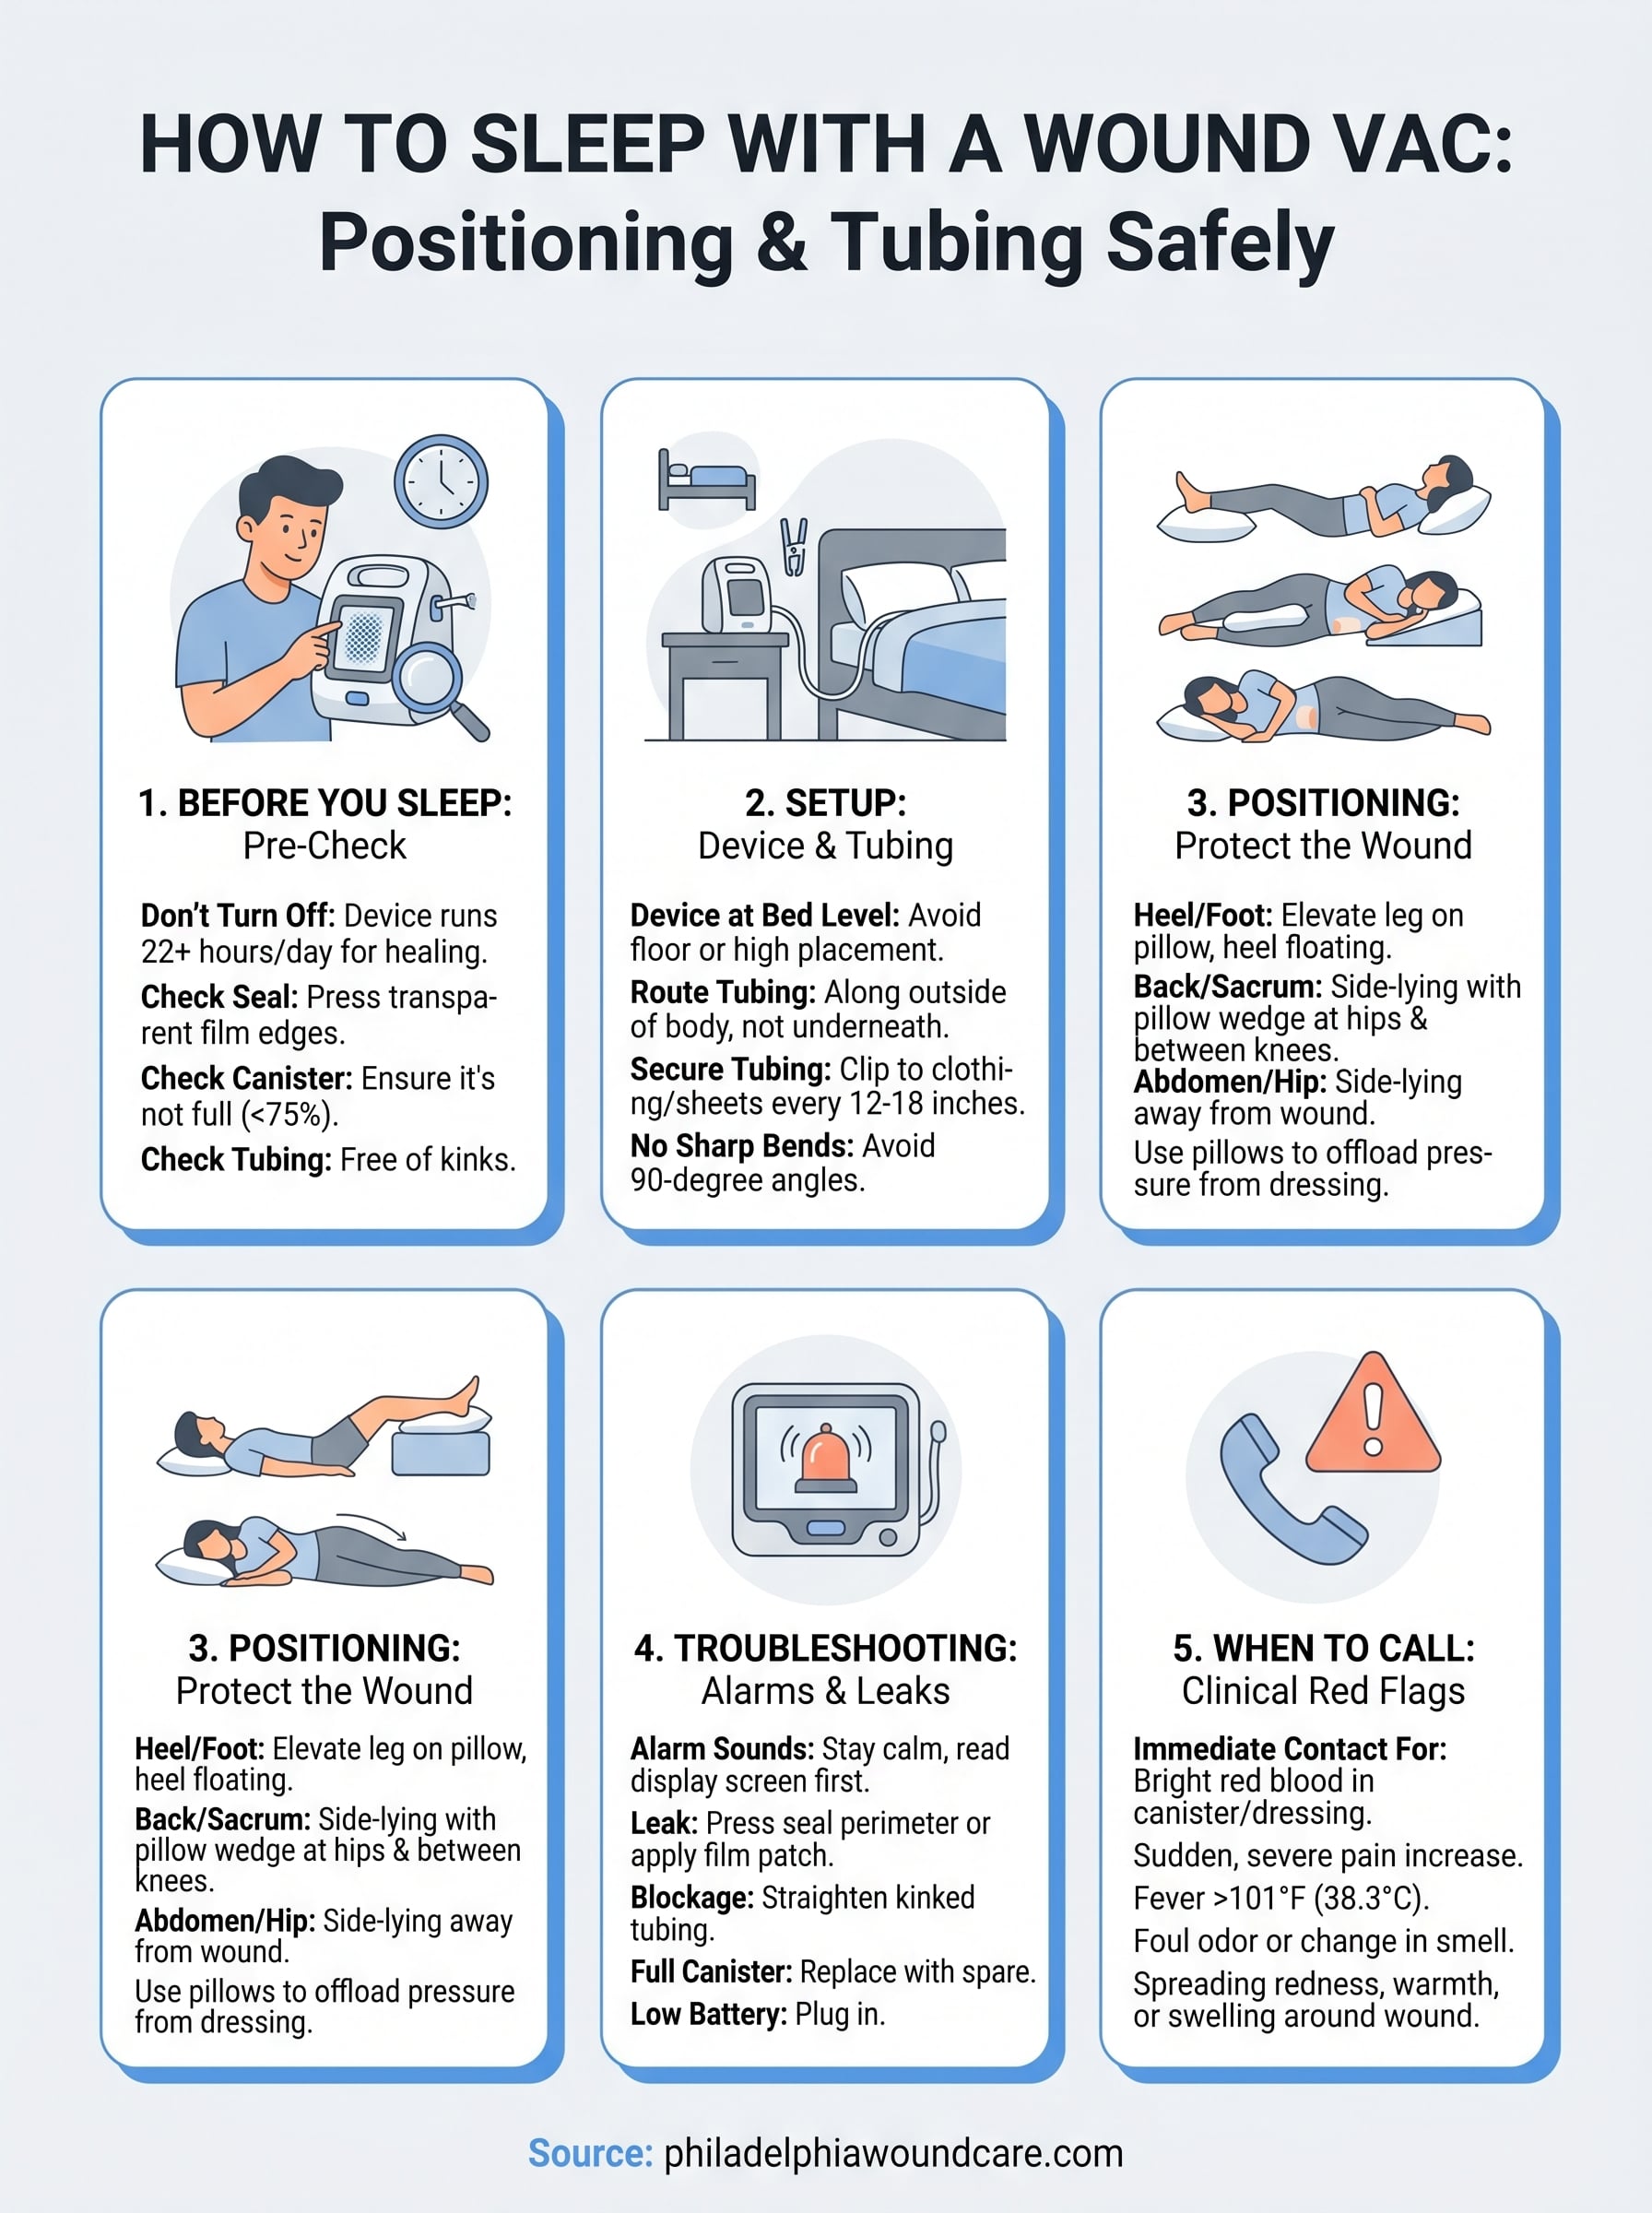
Step 1. Set up your device and tubing for the night
Your physical setup before you lie down determines how much the device disrupts your sleep. Most wound vac problems at night, including tubing pulls, kinks, and alarm triggers, happen because the device and tubing were not staged correctly before bed. Spending five minutes on setup now prevents 20 minutes of frustration at 3 a.m.
Place the device at bed level
Your wound vac should sit at the same height as your wound, not on the floor pulling downward or on a nightstand tugging upward. Gravity affects how the drainage moves through the tubing toward the canister, and a significant height difference creates drag on the dressing. A bedside table works well if your wound is on your torso. For wounds on the lower leg or foot, placing the device on the mattress near your feet, secured so it cannot roll, is often the better option.
Keeping the device at wound level reduces tubing tension and is one of the most overlooked adjustments for patients learning how to sleep with a wound vac.
Avoid placing the device where you might roll onto it during the night. If your device has a handle, loop the handle around the bed rail or use a clip to anchor it to the fitted sheet so it stays in place even if you shift positions.
Route and secure the tubing before lying down
Tubing management is the mechanical step most patients skip, and it’s the one that causes the most problems overnight. Before you get into bed, lay the tubing along the path it will naturally follow based on your intended sleep position. If you plan to sleep on your left side, route the tubing over your left hip rather than under your body where it will kink.
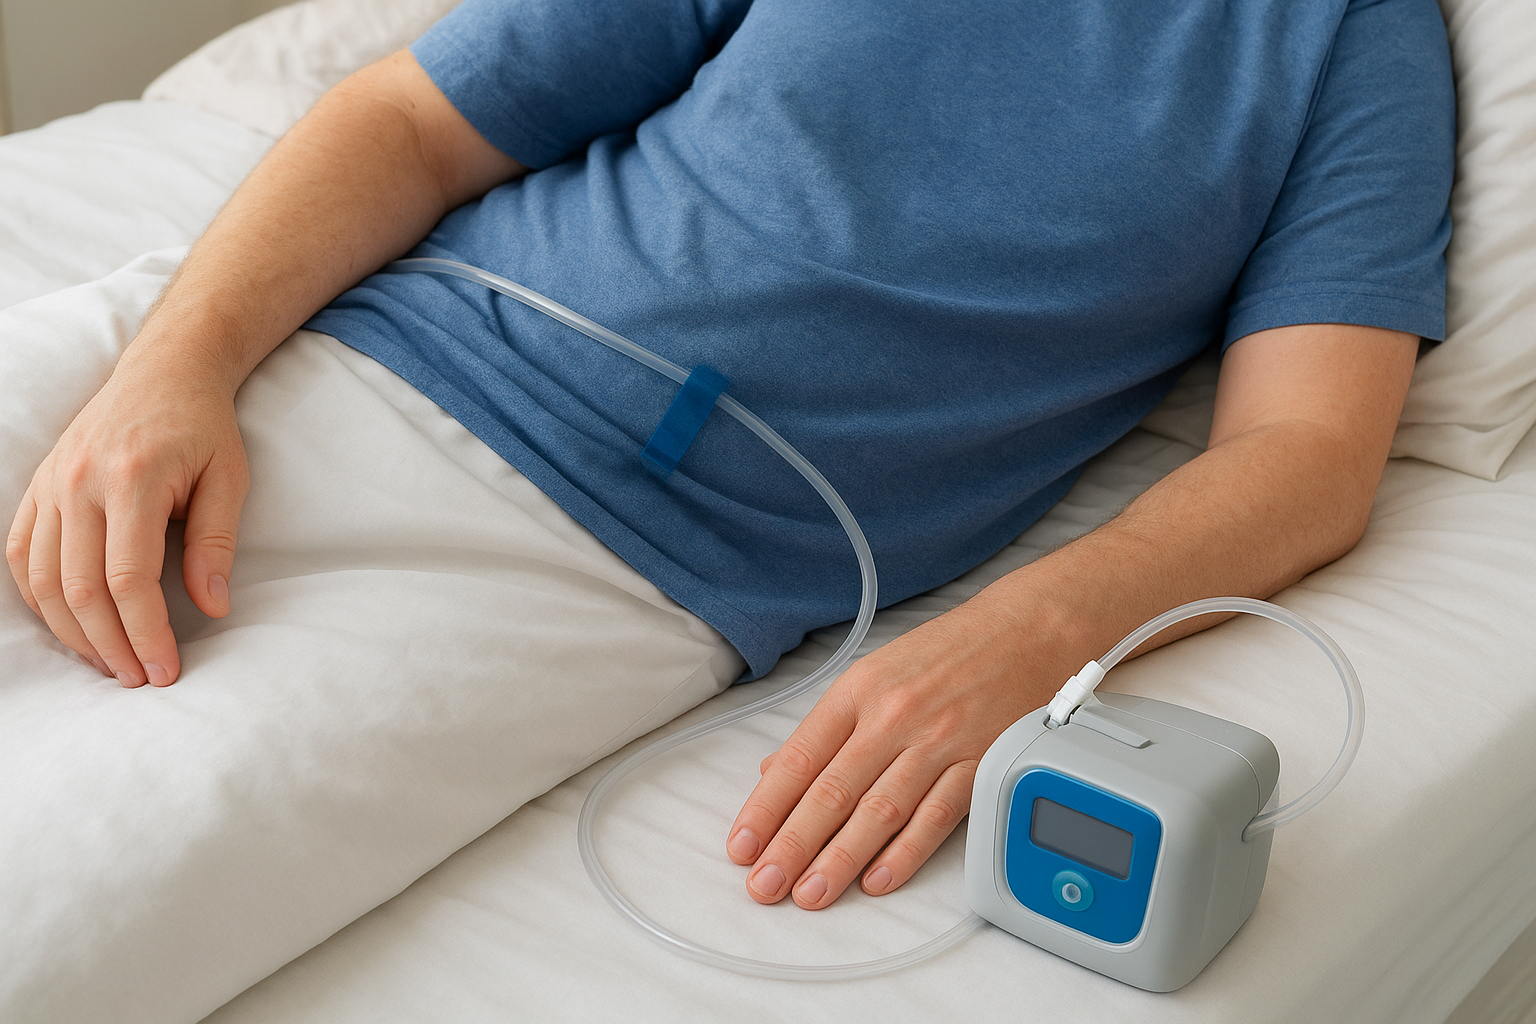
Use the tubing clips that came with your device to anchor the line to your clothing or bed sheet every 12 to 18 inches. This prevents the tubing from pulling on the dressing connection point if you shift positions. Follow this checklist before turning off the light:
- Confirm tubing runs along the outside of your body, not underneath
- Clip the tubing to your shirt or pants at least twice between the dressing and the device
- Verify there are no sharp bends or 90-degree angles in the line
- Check that the canister connection is fully seated and locked
- Leave enough slack near the dressing so a small body movement does not create tension
Step 2. Choose a sleep position that protects the wound
Once your device and tubing are staged, your body position is the next critical variable. The wrong position places direct pressure on the dressing, restricts the suction seal, or creates tubing tension that pulls the connection point loose during the night. Every wound location has at least one position that works better than the others, and identifying yours before you get into bed removes the guesswork when you’re already tired.
Matching position to wound location
The table below maps the most common wound locations to the positions most likely to keep the seal intact while removing direct pressure from the dressing. Use it as your starting framework, then adjust based on your comfort level. If your specific wound location is not listed, apply the same core principle: find the position that takes body weight off the wound site while keeping the tubing routed along the outside of your body.
| Wound Location | Recommended Position | Position to Avoid |
|---|---|---|
| Heel or foot | Supine (back) with leg elevated on a pillow | Prone (face-down) |
| Abdomen | Supine or side-lying away from the wound | Prone |
| Lower back | Side-lying with a pillow between knees | Flat supine |
| Hip or thigh | Side-lying on the opposite side | Side-lying on the wound side |
| Sacrum or tailbone | Side-lying, alternating sides with support | Flat supine |
Using pillows to offload pressure
Pillows are the most practical tool you have for protecting the wound site overnight. For heel wounds, place a standard pillow lengthwise under the calf so the heel floats completely off the mattress. This single adjustment prevents pressure-related breakdown at the wound edges, which is a common complication clinicians see when patients are first learning how to sleep with a wound vac at home. Your heel should not touch the mattress or any surface at all.
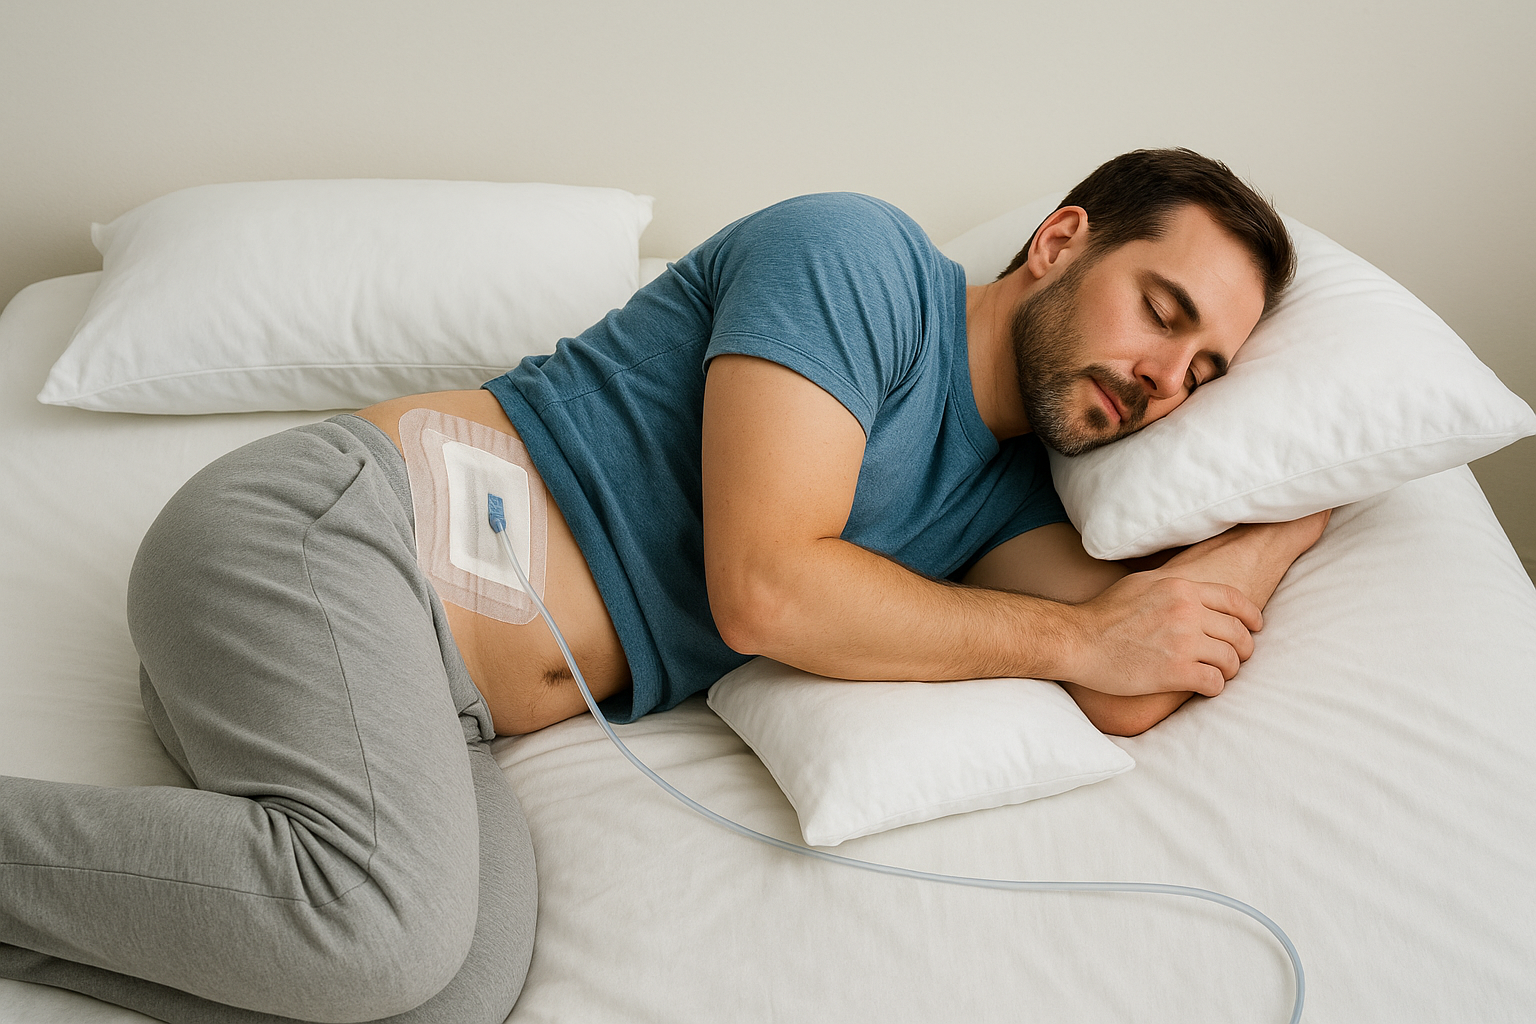
A heel that makes zero contact with the mattress is not optional; it is the clinical standard for pressure offloading in home settings.
For wounds on the lower back or sacrum, wedge a pillow firmly against your hips when you lie on your side. This shifts your weight forward onto the hip bone rather than backward onto the wound. Use a second pillow between your knees to keep your spine aligned and prevent you from rolling into a supine position as you fall deeper into sleep.
Step 3. Build a bedding and clothing setup that helps
Your clothing and bedding choices have a direct effect on how well your seal holds and how much the tubing moves overnight. Most patients focus entirely on device placement and body position but overlook the fact that loose fabric, thick comforters, and synthetic sheets can all work against you by creating friction, trapping tubing, or adding bulk near the dressing site. Getting your clothing and bedding right is the third layer of a reliable nighttime setup.
Choose clothing that keeps tubing in place
Fitted, lightweight clothing is your best option when sleeping with a wound vac. Loose nightgowns or oversized shirts give tubing room to shift and bunch, which creates slack in one spot and pulls tension in another. A fitted cotton t-shirt and pajama pants give you consistent anchor points for your tubing clips along the torso and legs without adding bulk around the wound site.
The fabric between your clip and your skin is what absorbs movement during the night, so that layer needs to stay put.
Avoid anything with thick waistbands, drawstrings, or button seams near the wound area. These create localized pressure points that can compromise the dressing seal even without direct contact with the wound itself. If your wound is on the abdomen, consider wearing the pants waistband low enough that it sits completely clear of the dressing perimeter.
Set up your sheets and mattress to reduce friction
Cotton sheets with a thread count between 200 and 400 strike the right balance between smoothness and grip. Very slippery fabric like satin or microfiber allows the device to slide around during the night, pulling the tubing with it. Rougher fabric catches the tubing and creates drag when you shift positions. Standard cotton stays where you put it.
Learning how to sleep with a wound vac is partly about controlling every variable that moves, and your mattress surface is one that most people forget to consider. If your mattress is very soft or has significant sag, your wound site may sink into uneven contact with the surface. Place a thin, firm foam topper under the area closest to the wound if your mattress does not provide consistent support. Keep your sheets tucked firmly at the foot of the bed so they do not bunch and catch the tubing during the night.
Step 4. Handle alarms, leaks, and drainage overnight
Alarms and seal failures are the most disruptive part of learning how to sleep with a wound vac. Knowing exactly what each alarm means and how to respond before it happens keeps you from fumbling in the dark with a device manual. Most overnight alarms fall into three categories: low pressure from a leak, a blocked or kinked tube, and a full canister. Each has a specific fix that takes less than two minutes once you know the steps.
What to do when the alarm sounds
Your first move when an alarm wakes you is to stay calm and read the display rather than immediately adjusting the device. Every major NPWT unit shows an error code or a simple message on its screen. Pressing the alarm mute button gives you a short window, typically 30 to 60 seconds depending on your model, to identify and fix the problem before the alarm restarts.
Reading the display first is always faster than guessing, which is the mistake most patients make at 2 a.m.
Use this quick reference to match the most common alarms to their fixes:
| Alarm Type | Likely Cause | Immediate Action |
|---|---|---|
| Low pressure / leak | Seal lifting at dressing edge | Press film edges firmly; restart device |
| Occlusion / blockage | Kinked or compressed tubing | Trace the line and straighten any bends |
| Canister full | Drainage volume reached max | Replace canister with a spare |
| Low battery | Device not plugged in | Plug into wall outlet and confirm charging |
Fixing a leak at night
A leaking seal is the single most common reason NPWT alarms fire overnight, and the fix is almost always the same. Run your fingertip around the full perimeter of the transparent film and feel for any section that has lifted or lost adhesion. Press firmly along that edge for 15 to 20 seconds to reactivate the adhesive and restore the seal.
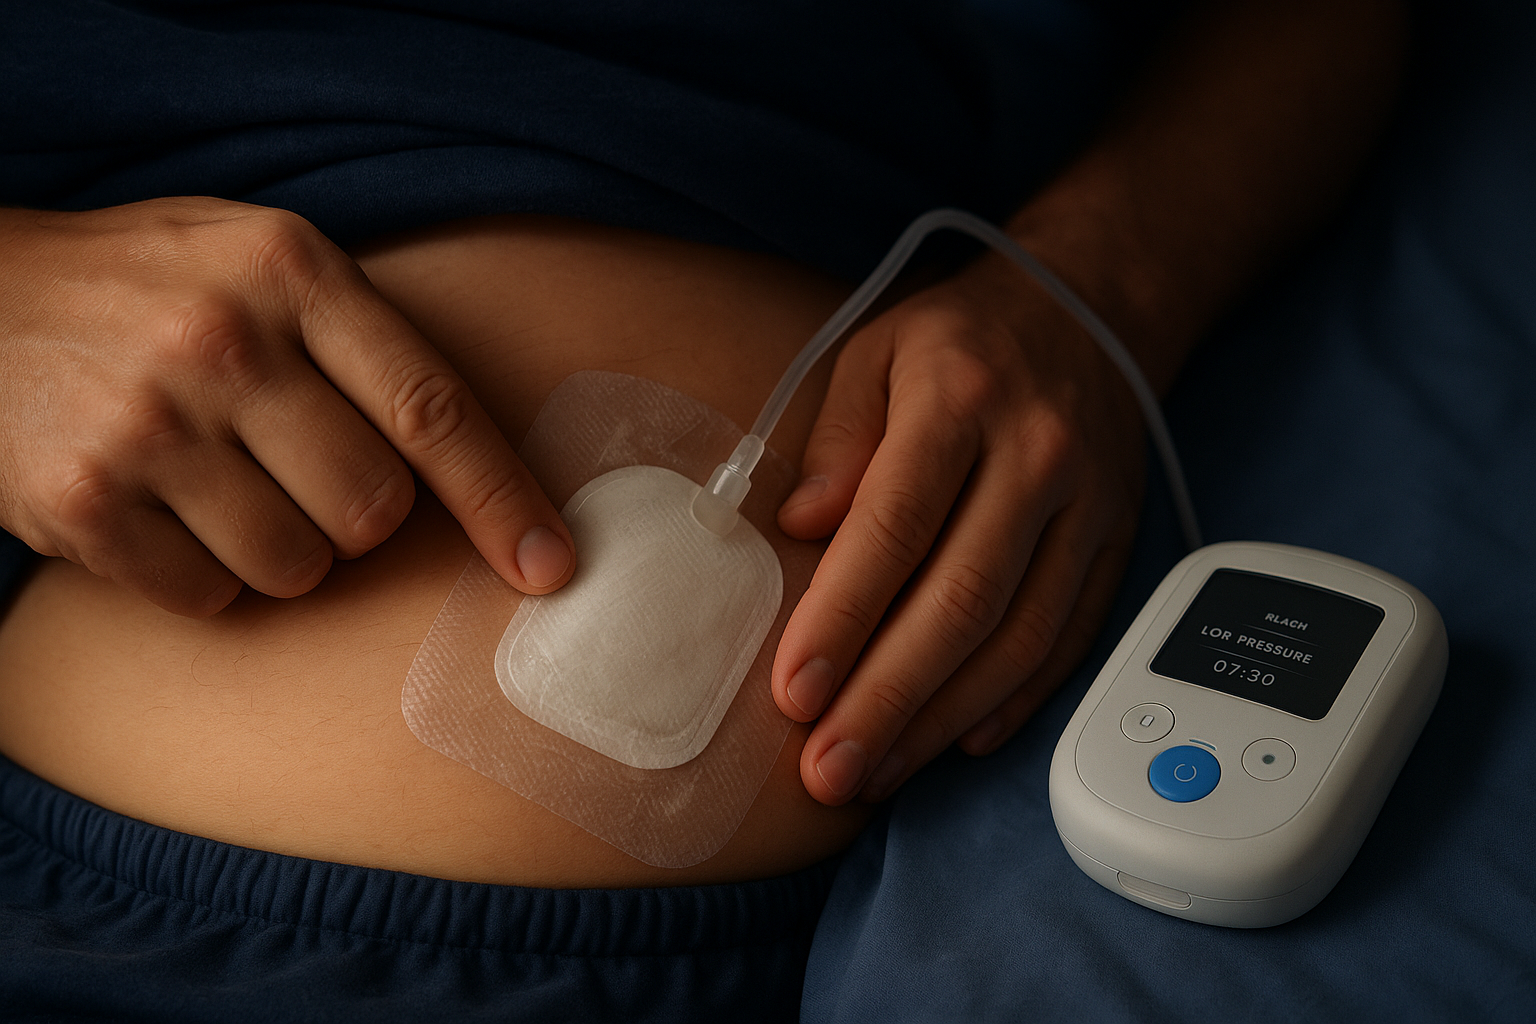
If the film will not hold after pressing, cut a small strip of the film tape that came with your supplies and layer it directly over the lifted section. This patch technique works for minor edge lifts. If more than a quarter of the seal perimeter has failed, the dressing needs a full replacement, which means contacting your clinical team rather than attempting a solo repair in the dark.
Managing drainage levels overnight
Check your canister level as part of your pre-sleep routine every single night. Starting the night with a canister that is more than half full significantly raises the chance of a full-canister alarm interrupting your sleep. Keep at least one spare canister on your nightstand so a replacement takes seconds rather than requiring a trip to another room.
Drainage output often increases in the first few days after a new dressing is placed, so expect slightly higher overnight volumes early in each dressing cycle. If you notice the drainage color shifting to bright red or the volume doubling without explanation, note the time and document it for your next clinical contact.
Step 5. Know when to call your clinician right away
Managing your device overnight independently is a skill that builds over time, but not every problem belongs in your hands. Some situations require you to contact your clinical team immediately rather than troubleshoot on your own. Knowing the difference before you face it is what separates a manageable overnight disruption from a situation that delays your healing or causes real harm. Learning how to sleep with a wound vac successfully means recognizing your own limits just as much as it means mastering tubing clips and seal checks.
Signs that cannot wait until morning
Certain changes around your wound site are clinical red flags, not inconveniences to monitor and mention at your next scheduled visit. If you notice any of the following, stop troubleshooting and call your clinical team or seek emergency care depending on severity.
Do not attempt to re-dress or adjust the wound site if you see any of the warning signs listed below.
Watch for these specific situations and treat each one as a reason to call immediately:
- Bright red blood in the canister or soaking through the dressing: A small amount of pink-tinged drainage is normal, but active red bleeding is not.
- Sudden increase in pain at the wound site: Pain that escalates sharply or feels different from your baseline is a signal that something has changed inside the wound.
- Fever above 101°F (38.3°C): This can indicate an infection developing at or around the wound bed that requires clinical evaluation.
- Foul or significantly changed odor from the wound: A new or worsening smell often means bacterial activity that needs prompt assessment.
- Skin around the dressing that is swollen, hot, or showing red streaking: These are signs of spreading infection and require same-day evaluation.
What to document before you make the call
Your clinician needs specific information to assess the situation accurately over the phone, so gathering details before you dial saves time and leads to better guidance. Write down the time you first noticed the problem, a description of what you see or smell, your current pain level on a scale of 1 to 10, the last time the dressing was changed, and whether the device alarm is active or has been sounding repeatedly.
This short log takes less than two minutes to compile and gives your clinical team everything they need to decide whether you need a same-day visit or can manage safely until morning.
Conclusion
Sleeping well with a wound vac comes down to preparation, not luck. When you stage your device at bed level, route and clip your tubing before lying down, choose a position that keeps weight off the wound site, and run a seal check every night, you take the most disruptive variables off the table. Learning how to sleep with a wound vac is a skill that improves quickly once you understand the mechanics behind each step, and each night you get it right, you protect the healing progress you’ve already made.
Your recovery depends on consistent therapy, uninterrupted overnight sessions, and knowing when a problem needs a clinician rather than a self-fix. If you are in the Philadelphia area and need physician-led wound care at your bedside, our team is ready to support your wound vac management and every aspect of your recovery. Schedule a mobile wound care visit and get expert care delivered directly to you.