

Wound Care Clinical Support: Protocols For Faster Healing
A wound that stalls in the healing process isn’t just a medical frustration, it’s a daily burden on patients, families, and the clinical teams managing care. Whether you’re overseeing recovery in a skilled nursing facility or coordinating treatment for a loved one at home, having structured wound care clinical support changes outcomes. The difference between a wound that closes in weeks versus one that lingers for months often comes down to the protocols guiding each treatment decision.
Yet many caregivers and facility staff find themselves working without a clear clinical framework. They change dressings, monitor for infection, and hope for progress, but without evidence-based protocols, they’re essentially guessing. Chronic wounds like diabetic ulcers, pressure injuries, and venous stasis ulcers demand more than routine maintenance. They require targeted interventions, proper assessment timelines, and coordinated physician oversight to move toward closure.
At Philadelphia Wound Care, our physician-led mobile practice exists to fill that gap. Dr. Niknam brings advanced wound management, including allograft and regenerative therapies, directly to patients in homes, skilled nursing facilities, and hospice settings across the Philadelphia area. This guide draws from the clinical principles that drive our practice every day. Below, you’ll find actionable protocols for wound assessment, treatment selection, infection management, and healing optimization, designed to give you a reliable framework whether you’re a referring provider, a facility care team, or a family caregiver navigating complex wound recovery.
What wound care clinical support means in practice
Wound care clinical support is not a single action. It’s a coordinated system of assessment, treatment, communication, and follow-through that keeps every member of a patient’s care team aligned toward the same goal: wound closure. In practice, this means having defined roles, standardized documentation, clear escalation paths, and treatment protocols that respond to how a wound actually behaves week to week.
Without a structured support framework, even well-intentioned care teams default to inconsistent approaches that delay healing and increase the risk of serious complications like sepsis or osteomyelitis.
Who belongs in a wound care support structure
Every wound has a story, and reading that story correctly requires multiple clinical perspectives. A physician provides diagnosis, prescribes systemic treatments, and authorizes advanced therapies. Nurses execute daily wound protocols, monitor for changes, and communicate findings. Physical therapists address mobility factors like offloading and circulation. Dietitians track nutritional status, which directly affects tissue regeneration. Facility administrators ensure the right supplies are stocked and the right referrals are made on time.
For patients receiving care at home or in a skilled nursing facility, the support structure also includes family caregivers and case managers who bridge the gap between clinical visits. When everyone knows their role and has access to the same documented wound history, treatment decisions become faster and more accurate.
| Role | Primary Responsibility |
|---|---|
| Physician / Surgeon | Diagnosis, advanced treatment authorization, escalation decisions |
| Wound Care Nurse | Protocol execution, dressing changes, monitoring |
| Physical Therapist | Offloading, mobility, compression guidance |
| Dietitian | Nutritional assessment and optimization |
| Case Manager | Referrals, discharge planning, insurance coordination |
| Family Caregiver | Daily observation, medication compliance, reporting changes |
The core components of a clinical support framework
A functional wound care framework runs on four pillars: accurate assessment, appropriate treatment selection, infection control, and documented progress tracking. Skip any one of these and the system breaks down. A wound assessed incorrectly gets the wrong dressing. A wound dressed incorrectly stalls or deteriorates. A wound without documented baselines becomes impossible to evaluate for improvement.
Your protocols need to define how often assessments happen, what gets measured at each visit, which wound characteristics trigger a physician escalation, and how treatment changes are communicated across the care team. These aren’t bureaucratic steps. Each protocol element directly reduces the time between identifying a problem and solving it, which is where real healing gains happen.
How mobile physician care fits the model
For patients who cannot travel to a wound clinic, the biggest barrier to strong clinical support is access to physician-level oversight. Nurse-led home health visits handle many tasks well, but they cannot prescribe advanced therapies, perform sharp debridement, or order the diagnostic imaging needed to rule out deep tissue involvement or bone infection.
Mobile physician wound care solves this by bringing the diagnostic and treatment authority of a trained surgeon directly to the patient’s bedside. In the Philadelphia area, this means patients in private homes, assisted living communities, and hospice settings can receive the same level of wound assessment and advanced treatment that was previously only available in a hospital or outpatient clinic. It also means the referring physician and facility staff receive direct communication from the treating provider, keeping the entire support structure informed and coordinated rather than fragmented across separate visits and delayed reports.
Step 1. Triage the wound and identify red flags
Every effective wound care clinical support protocol starts with a structured triage assessment. Before you select a dressing, clean the wound bed, or contact a physician, you need a clear picture of what you’re working with. Skipping this step means treating symptoms without understanding the wound’s actual stage, depth, or trajectory, which leads to delayed healing and missed complications.
How to assess wound characteristics at the first evaluation
Your initial assessment should capture six measurable parameters every time: wound location, dimensions (length, width, depth in centimeters), wound bed tissue type, exudate volume and character, periwound skin condition, and pain level reported by the patient. Record these at every visit so you can track real change over time rather than relying on subjective impressions.
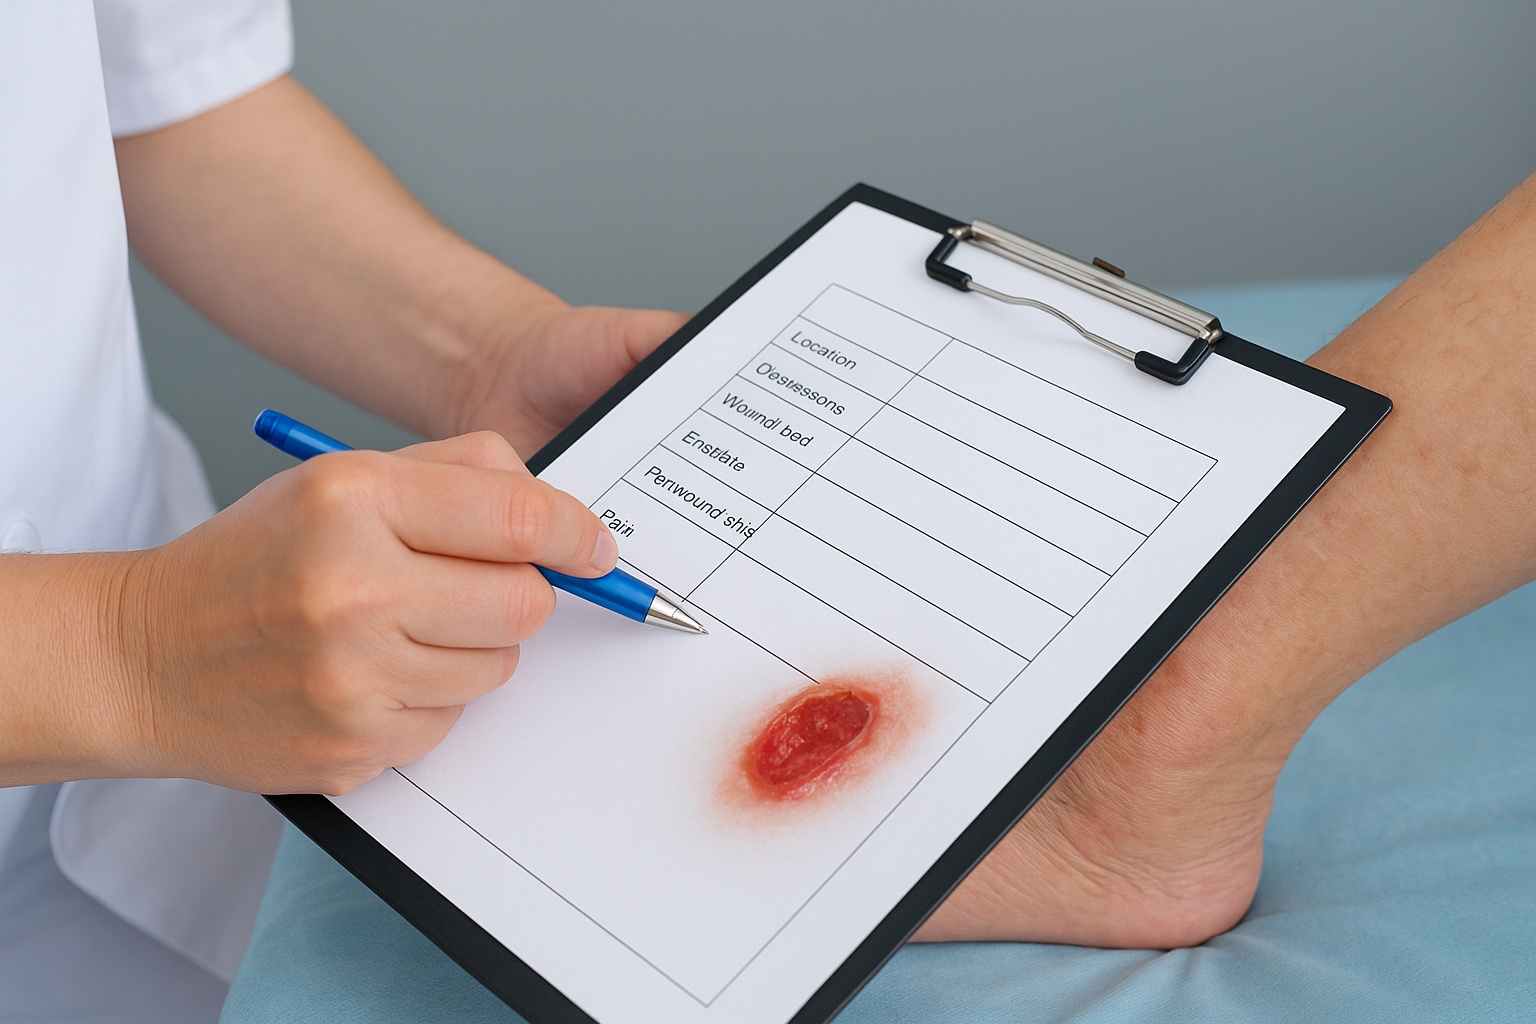
Use this assessment template at each clinical encounter:
| Parameter | What to Record |
|---|---|
| Location | Anatomical site, bony prominence involvement |
| Dimensions | Length x width x depth (cm); tunneling or undermining noted |
| Wound bed | % granulation, slough, necrotic tissue, eschar |
| Exudate | Amount (none/minimal/moderate/heavy) and type (serous, serosanguineous, purulent) |
| Periwound skin | Intact, macerated, erythematous, indurated, or friable |
| Pain | Patient-reported score (0-10) at rest and during dressing changes |
Photograph the wound at the first visit and at each subsequent assessment. A dated photo log gives you objective evidence of progression or deterioration that written notes alone cannot capture.
Red flags that require immediate physician escalation
Some findings at triage signal that standard dressing protocols are not enough and that physician-level intervention is needed the same day or within 24 hours. Recognizing these red flags early prevents a manageable wound from becoming a surgical emergency.
Missing a red flag during initial triage is one of the most common reasons a wound progresses to sepsis or requires amputation.
Watch for the following during your assessment:
- Fever above 38°C (100.4°F) combined with localized warmth, swelling, and wound odor
- Rapidly expanding erythema or streaking from the wound margin
- Exposed bone, tendon, or joint capsule visible in the wound bed
- Purulent drainage with systemic signs of infection (elevated heart rate, confusion in elderly patients)
- Sudden increase in wound size or depth between visits without a mechanical cause
- Any wound that has shown no measurable improvement after four weeks of consistent treatment
Document any red flag findings immediately in the patient’s record and contact the supervising physician before proceeding with routine wound care.
Step 2. Clean, irrigate, and protect viable tissue
Once triage is complete, your next priority is wound bed preparation through proper cleaning and irrigation. This step removes surface contaminants, loosens non-viable tissue, and creates conditions where granulation tissue can form and advance. Many care teams underestimate irrigation pressure, use inappropriate solutions, or inadvertently damage healthy tissue during cleaning. Each of those errors sets back the healing timeline.
How to irrigate a wound correctly
Effective wound irrigation depends on two variables: the solution you use and the pressure you deliver it at. Normal saline (0.9% sodium chloride) remains the gold standard for most wounds because it is isotonic and does not damage healing tissue the way hydrogen peroxide or povidone-iodine can. For wounds with moderate to heavy bioburden, a wound cleanser with a low-toxicity surfactant is appropriate, but verify with the supervising physician before switching products.
Delivering irrigation at the right pressure, between 4 and 15 PSI, removes bacteria and debris without driving contaminants deeper into tissue.
To achieve this pressure range, use a 30 to 35 mL syringe with an 18-gauge angiocatheter. Hold the tip approximately 1 to 2 centimeters above the wound surface and flush thoroughly. Work from the cleanest areas toward the most contaminated to avoid cross-contamination within the wound bed. Use the following checklist at each irrigation step:
- Confirm the correct solution (saline or approved wound cleanser)
- Use a 30-35 mL syringe with an 18-gauge angiocatheter or equivalent irrigation shield
- Irrigate at 1-2 cm distance from the wound surface
- Flush until the return fluid runs clear
- Pat periwound skin dry with a non-woven gauze pad after irrigation
Protecting viable tissue during cleaning
After irrigation, your cleaning technique must prioritize granulation tissue and epithelial buds, which are fragile and easy to disrupt with aggressive scrubbing. Use gentle, non-abrasive materials. A soft non-woven gauze dampened with saline works well for removing loose debris at the wound margins without stripping new tissue growth.
Strong wound care clinical support frameworks specify exactly which mechanical debridement methods are permitted at the bedside versus which require physician authorization. Wet-to-dry debridement, for example, is outdated and removes viable tissue alongside necrotic material. Autolytic debridement using moisture-retentive dressings is safer for wounds with viable tissue present, and it preserves the cellular environment your patient needs to heal efficiently.
Step 3. Choose dressings for moisture and exudate control
Dressing selection is one of the highest-impact decisions in any wound care clinical support protocol. The wrong dressing either dries out a wound bed that needs moisture to support cell migration, or it lets excess fluid macerate healthy periwound skin. Your goal is to maintain a moist wound environment without allowing exudate to pool or saturate surrounding tissue, and that requires matching the dressing type to what the wound is actually producing on that visit.
Match the dressing to the exudate level
Your assessment from Step 1 gives you the exudate data you need to make this decision. A wound producing minimal exudate needs a moisture-donating or moisture-retentive dressing like a hydrogel or thin hydrocolloid. A wound with heavy exudate needs an absorbent dressing that pulls fluid away from the wound bed without traumatizing tissue on removal.
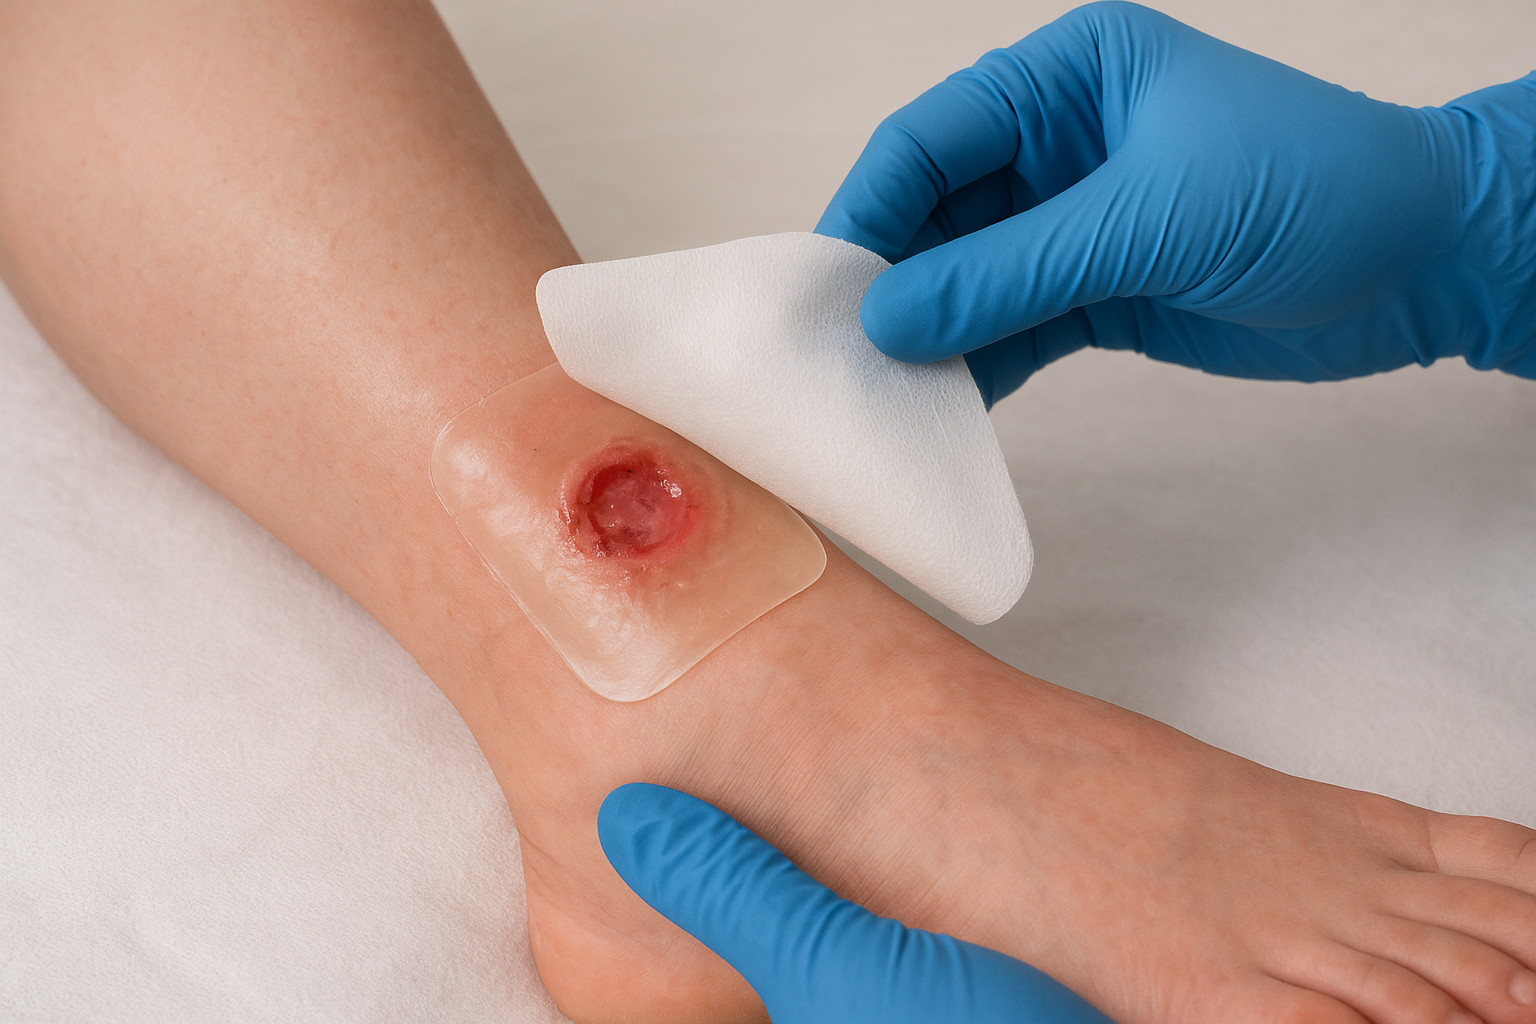
Choosing a highly absorbent dressing for a low-exudate wound will desiccate granulation tissue and stall the healing process just as effectively as choosing no dressing at all.
Use this reference guide at each dressing change to align your choice with current wound output:
| Exudate Level | Recommended Dressing Type | Key Benefit |
|---|---|---|
| None / Minimal | Hydrogel sheet or amorphous hydrogel | Donates moisture to dry wound bed |
| Minimal / Moderate | Thin hydrocolloid or foam | Retains moisture, absorbs light drainage |
| Moderate | Foam dressing (non-adhesive or bordered) | Absorbs fluid, protects periwound skin |
| Heavy | Alginate or hydrofiber dressing | High absorption, gels on contact with exudate |
| Heavy with tunneling | Alginate rope or narrow foam filler | Fills dead space, wicks drainage upward |
Change your dressing choice whenever the wound’s exudate level shifts. A wound moving from heavy to moderate output is a positive sign, but continuing to use a highly absorbent dressing at that stage will damage the new granulation tissue forming in the wound bed.
When to layer or combine dressing types
Some wounds require a primary and secondary dressing working together. For example, an alginate primary contact layer handles high exudate absorption while a bordered foam secondary dressing provides structural protection and keeps the primary dressing in place between scheduled changes. This layering approach is particularly useful for wounds on irregular body surfaces like the heel or sacrum, where adhesion is difficult and dressing displacement is a frequent problem.
Select your secondary dressing based on the wear time you need and the condition of the periwound skin. If the skin around the wound is fragile or already macerated, use a silicone-bordered dressing rather than an adhesive product to prevent additional skin trauma during removal.
Step 4. Manage infection risk and pain safely
Infection and pain are the two factors most likely to derail an otherwise sound wound care clinical support plan. Both require structured, protocol-driven responses rather than reactive management after the situation has already worsened. When your team follows consistent screening criteria and treatment thresholds, you catch infection early, keep pain from disrupting dressing changes, and protect the tissue progress your earlier steps created.
Recognize and respond to signs of wound infection
Your wound assessment should include a specific infection screening checklist at every visit, not only when something looks visibly wrong. Early infection rarely announces itself with obvious pus or fever. In older patients especially, the first signs are subtle: increased pain at rest, slight changes in exudate color or odor, periwound warmth or firmness spreading beyond 1 centimeter from the wound margin, and friable granulation tissue that bleeds easily on contact.
Biofilm, a structured community of bacteria that resists topical antiseptics, is present in the majority of chronic wounds and will not resolve without targeted antimicrobial intervention.
Use this screening checklist at each wound visit to catch early infection indicators:
- New or increased wound pain between dressing changes
- Change in exudate: color shifts toward yellow, green, or gray
- Increase in exudate volume without a corresponding wound size increase
- Odor present after wound irrigation (not just before)
- Periwound erythema, induration, or edema expanding from the previous visit
- Friable or dark granulation tissue that does not bleed brightly
When two or more of these signs appear together, escalate to the supervising physician before the next scheduled visit. Do not wait for a systemic fever before acting. For wounds showing biofilm indicators, your physician may prescribe a topical antimicrobial dressing such as cadexomer iodine or silver-containing foam to disrupt bacterial colonization without contributing to systemic antibiotic resistance.
Manage pain to support treatment compliance
Uncontrolled pain during dressing changes is a significant barrier to consistent wound care, because patients will delay or refuse treatment when they anticipate discomfort. Start by documenting your patient’s pain score before and during each dressing change so you have a baseline to share with the prescribing physician. If procedural pain consistently scores above five out of ten, a pre-medication protocol using oral analgesics taken thirty minutes before the visit may be appropriate.
Your dressing selection also affects pain levels directly. Choosing non-adherent contact layers, specifically soft silicone or lipido-colloid interfaces, reduces tissue disruption on removal and cuts procedural pain without requiring additional medication. Pair these with gentle removal technique: soak adherent dressings with saline before pulling, and always remove parallel to the skin surface rather than perpendicular.
Step 5. Offload pressure and improve circulation
Pressure and poor circulation are the two mechanical forces most likely to prevent a wound from closing even when your dressing protocol is correct. A venous ulcer that receives the best silver foam dressing available will still fail to heal if the patient sits with their legs dependent for twelve hours a day. Effective wound care clinical support requires that you address the physical environment around the wound, not just the wound bed itself.
Match offloading to the wound location
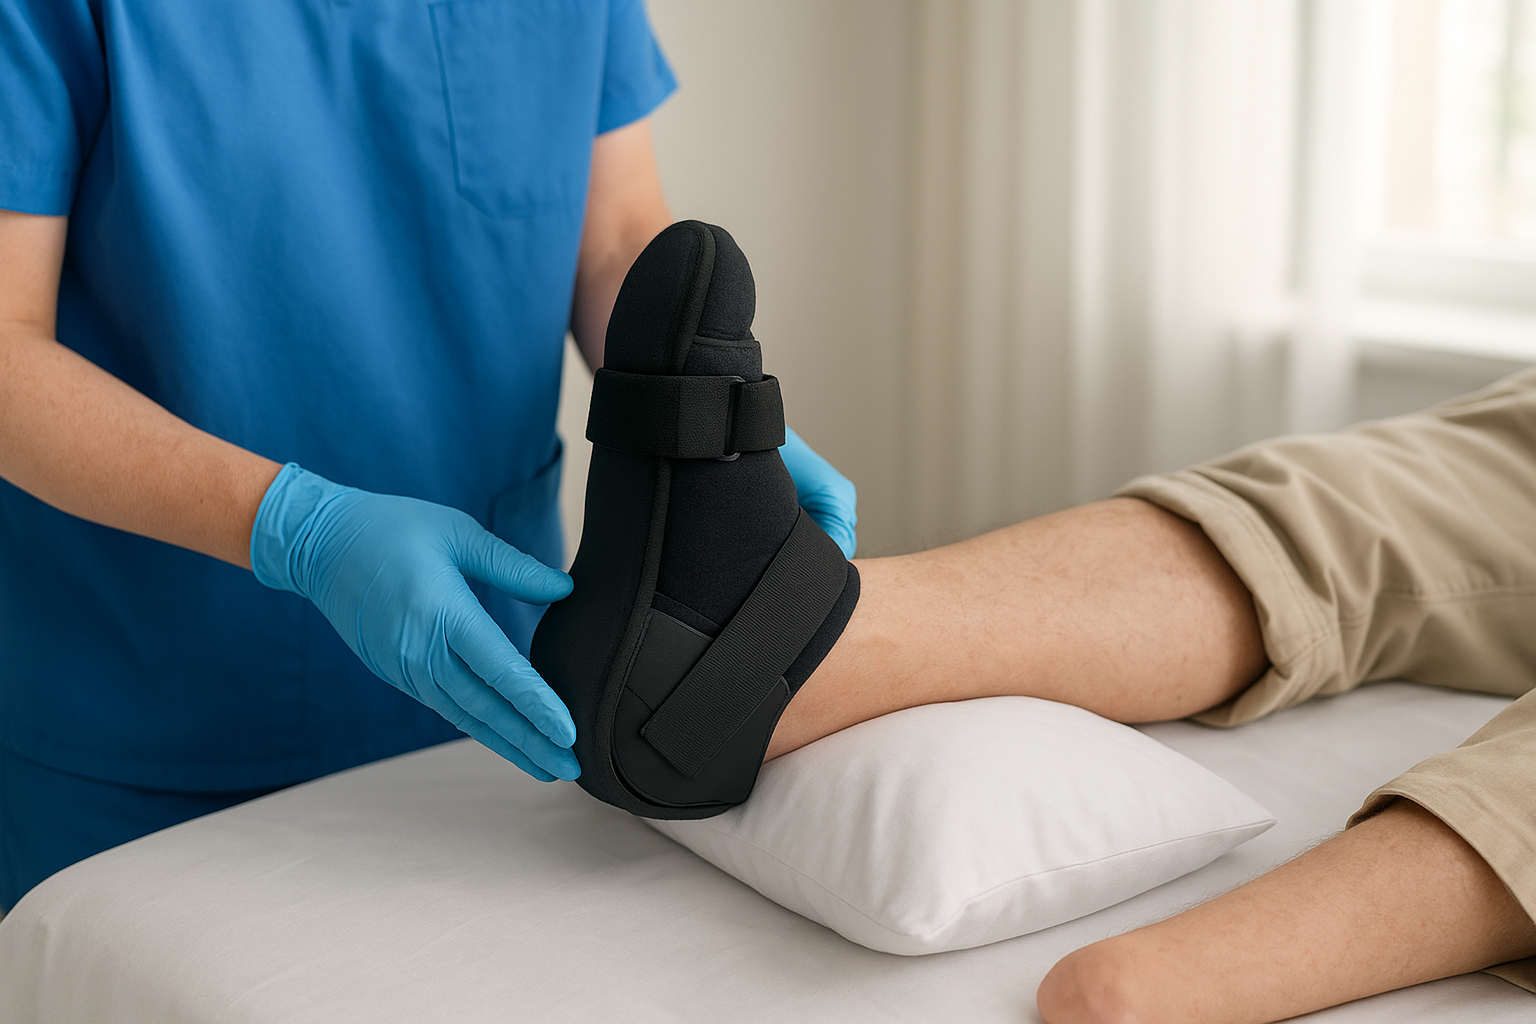
Your offloading strategy depends entirely on where the wound sits and what surface bears weight or friction against it. A heel pressure injury needs a different solution than a sacral ulcer or a plantar diabetic foot wound. Below is a practical reference for matching your offloading approach to the wound site:
| Wound Location | Recommended Offloading Method |
|---|---|
| Heel | Heel suspension boot or pillow under the calf to float the heel completely off the surface |
| Sacrum / Coccyx | Pressure-redistributing mattress (foam, alternating air, or gel); reposition the patient every 2 hours |
| Plantar foot (diabetic) | Total contact cast or removable cast walker; restrict full weight-bearing activity |
| Lateral ankle / malleolus | Foam wedge positioning; padded leg trough during rest periods |
| Trochanter (hip) | 30-degree lateral tilt positioning using wedge pillow, avoid full lateral position |
Document which offloading device or method you prescribe and verify at each visit that the patient or caregiver is using it consistently. A total contact cast only works if it stays on. A pressure-redistributing mattress only functions if the facility has ordered the correct surface grade for the patient’s weight and mobility status.
Improve circulation to support tissue perfusion
Tissue perfusion drives the oxygen and nutrient delivery that granulation tissue depends on to form and mature. For patients with venous insufficiency, graduated compression is the most effective intervention available outside of surgical management. A compression bandage system delivering 30 to 40 mmHg at the ankle significantly reduces venous hypertension and edema that stalls wound closure in leg ulcer patients.
Never apply compression to a lower extremity wound without first confirming that the patient’s ankle-brachial index is 0.8 or higher, as compression in arterial insufficiency can cause tissue necrosis.
For patients with limited mobility, structured lower extremity elevation during rest periods (legs raised above heart level for 30 minutes, three times per day) reduces venous pooling without requiring external devices. Combine elevation with ankle pump exercises to activate the calf muscle pump and improve venous return actively rather than passively.
Step 6. Monitor healing and document the plan
Consistent monitoring and documentation are what separate a reactive wound care approach from a true wound care clinical support system. Without structured records, you cannot tell whether a wound is genuinely improving, plateauing, or declining between visits. Every measurement you take and every treatment decision you record creates the evidence base your team needs to make faster, better-informed adjustments when healing stalls.
Track wound measurements at every visit
You should record the same six parameters at every clinical encounter using a standardized wound assessment form. This consistency is what allows you to compare visits objectively rather than relying on memory or subjective impressions. A wound that looks "about the same" to a caregiver might actually show a 15% reduction in surface area when you measure it, which is a meaningful clinical signal worth acting on.
A wound that fails to show at least a 20 to 30 percent reduction in surface area after four weeks of consistent treatment requires physician reassessment and a possible change in treatment strategy.
Use this documentation template at each visit to capture the information your full care team needs:
| Parameter | Visit 1 | Visit 2 | Visit 3 |
|---|---|---|---|
| Date | |||
| Wound dimensions (L x W x D in cm) | |||
| Wound bed: % granulation / slough / necrosis | |||
| Exudate: amount and type | |||
| Periwound skin condition | |||
| Pain score (rest / procedural) | |||
| Dressing applied | |||
| Next scheduled change |
Build a documentation system that supports the whole team
Your documentation only delivers value if every team member can access and understand it. Keep wound records in a shared format that the supervising physician, nursing staff, facility case manager, and family caregiver can all reference between visits. A printed wound care flowsheet stored at the patient’s bedside works well in home and SNF settings where electronic access is inconsistent.
Update the treatment plan in writing every time you change a dressing type, add an offloading device, or escalate to physician care. Record the reason for the change alongside the change itself. This gives the next clinician who reviews the file an immediate understanding of why the protocol evolved, rather than forcing them to reconstruct the decision from observation alone. Documenting your rationale at each step is how you turn individual visits into a coordinated, forward-moving care plan.
Next steps for safer, faster healing
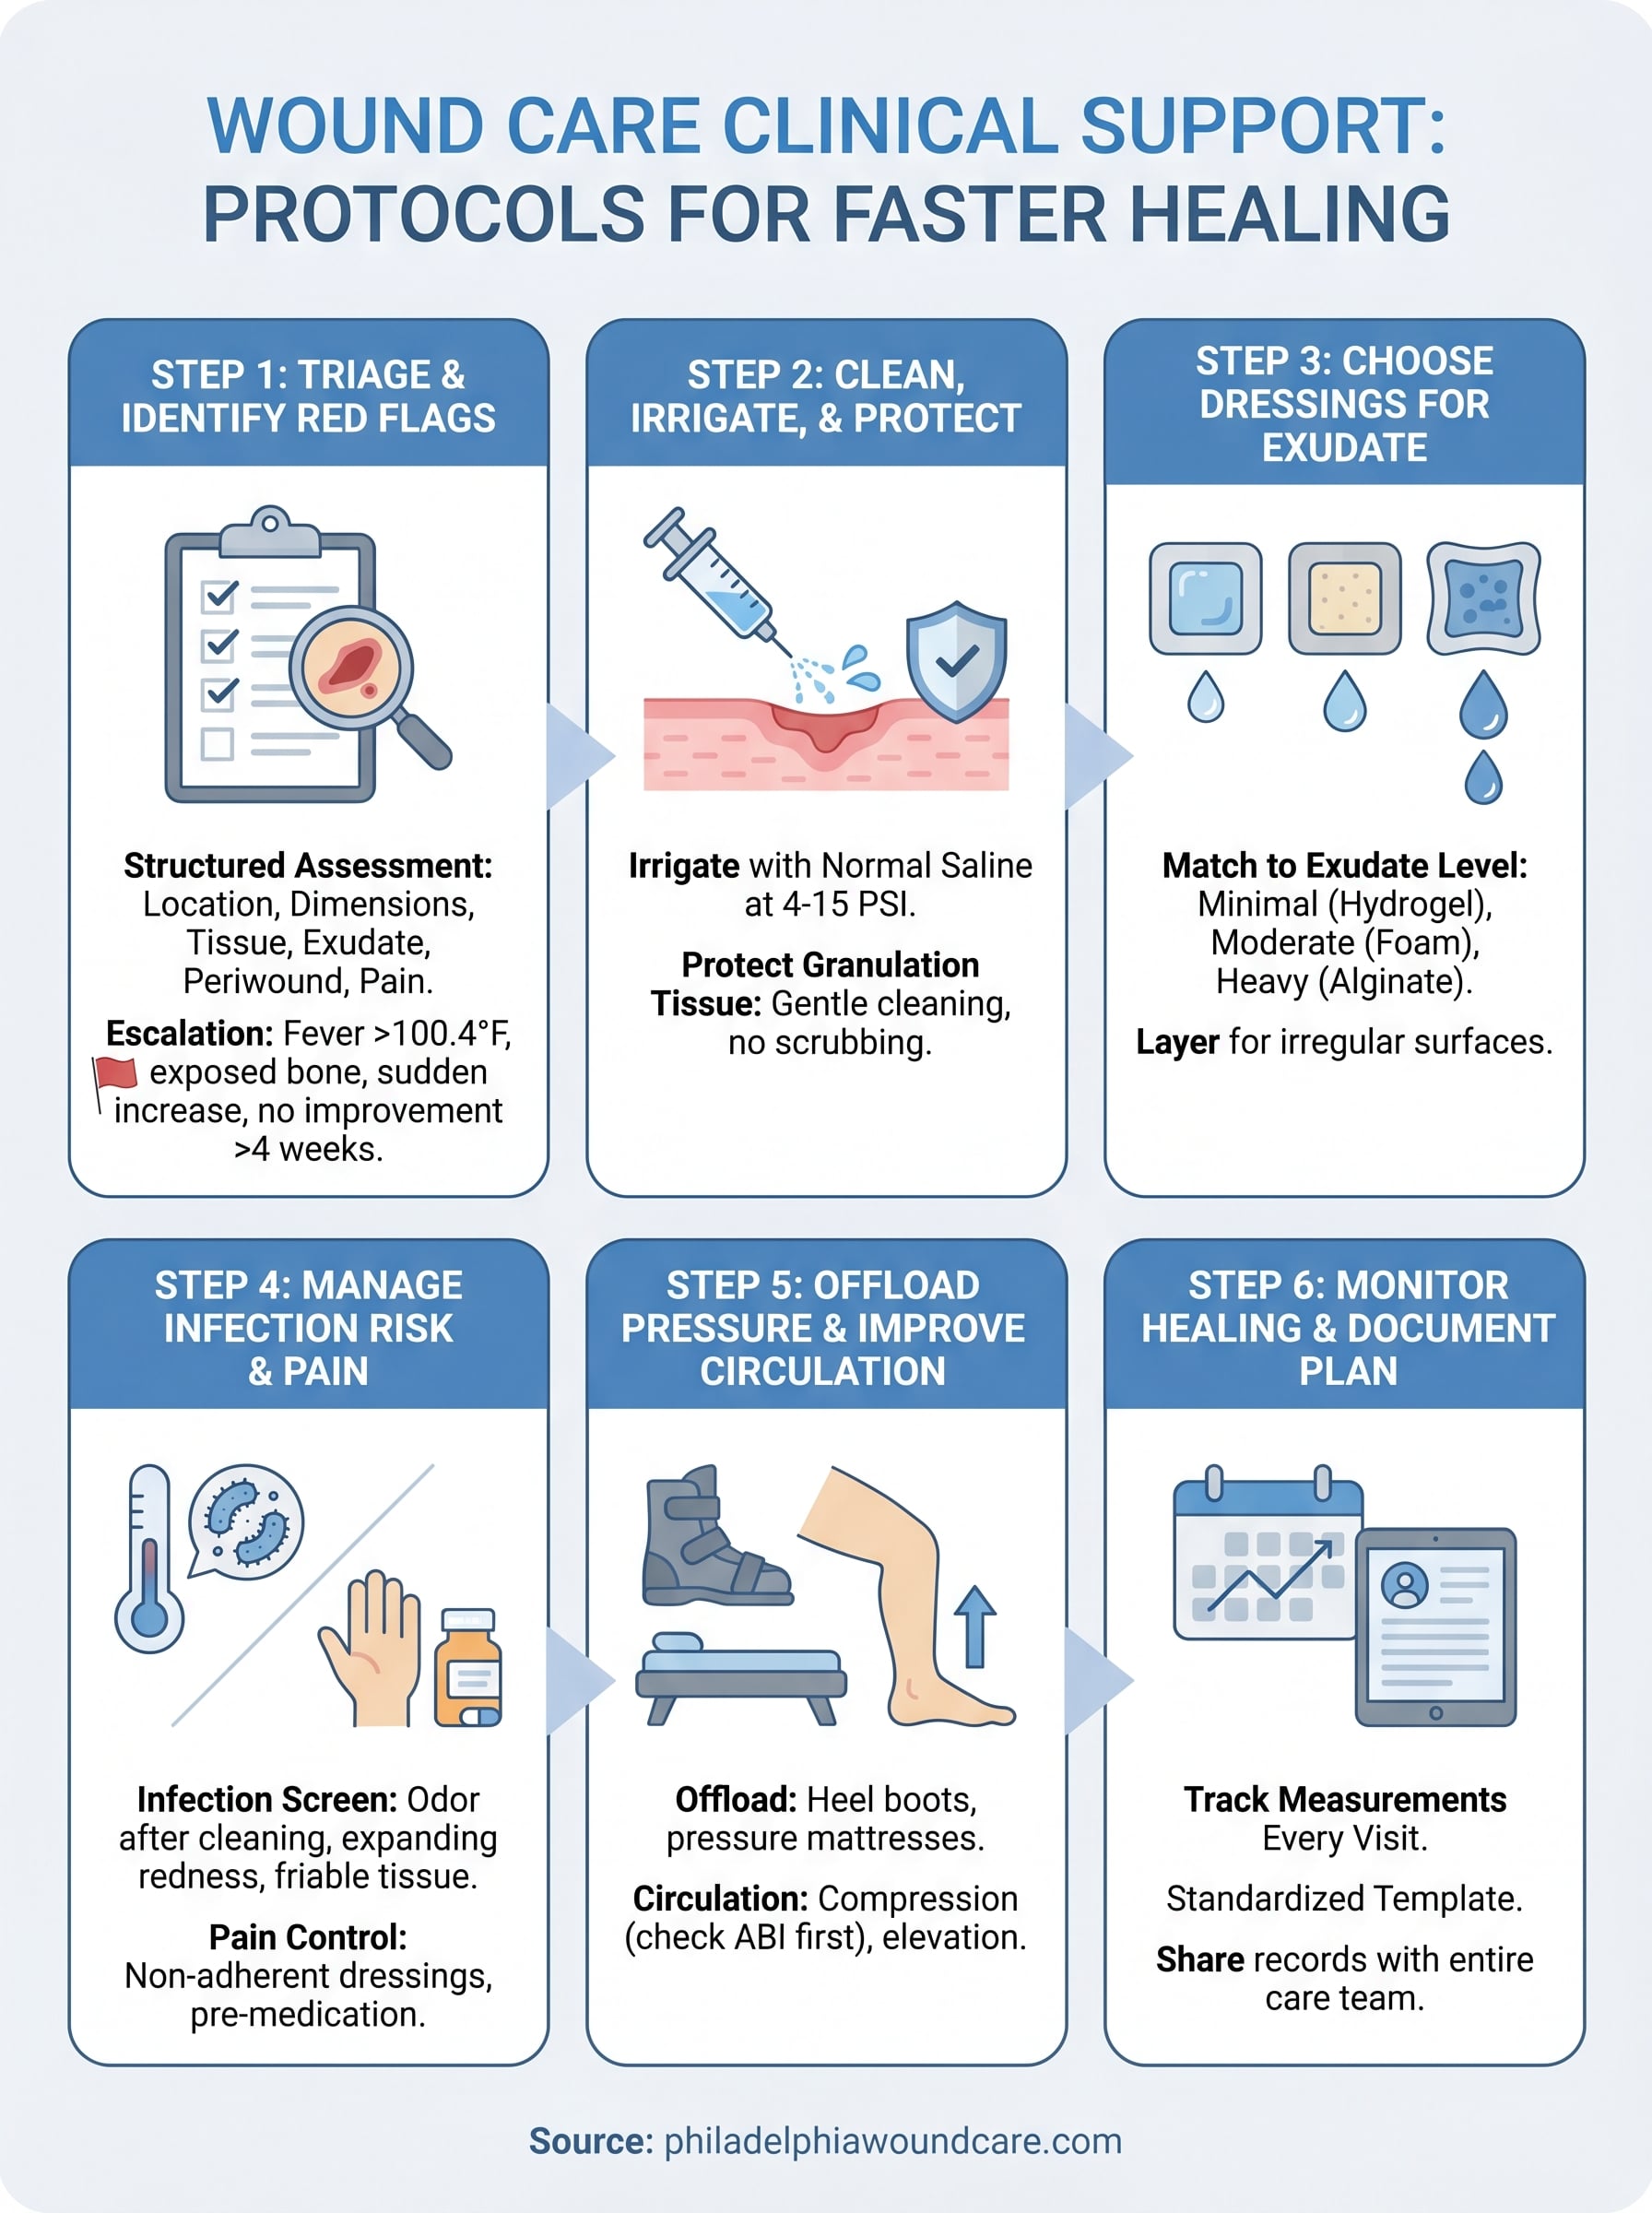
The six protocols in this guide give you a structured foundation for wound care clinical support that moves beyond reactive dressing changes toward a coordinated healing plan. Each step builds on the last: accurate triage informs your irrigation technique, your irrigation approach shapes dressing selection, and your documentation holds the entire system together across visits and care team members.
Putting these protocols into practice takes clinical expertise, the right supplies, and consistent physician oversight, which is not always available through standard home health or facility nursing alone. If you are managing a wound that has stalled, or if you need physician-level assessment and advanced treatment brought directly to your patient, Philadelphia Wound Care provides exactly that service across the Philadelphia region.
Contact our team today or refer your patient through our streamlined mobile wound care referral process to get specialist care started within 24 hours.